I let clay lead the way
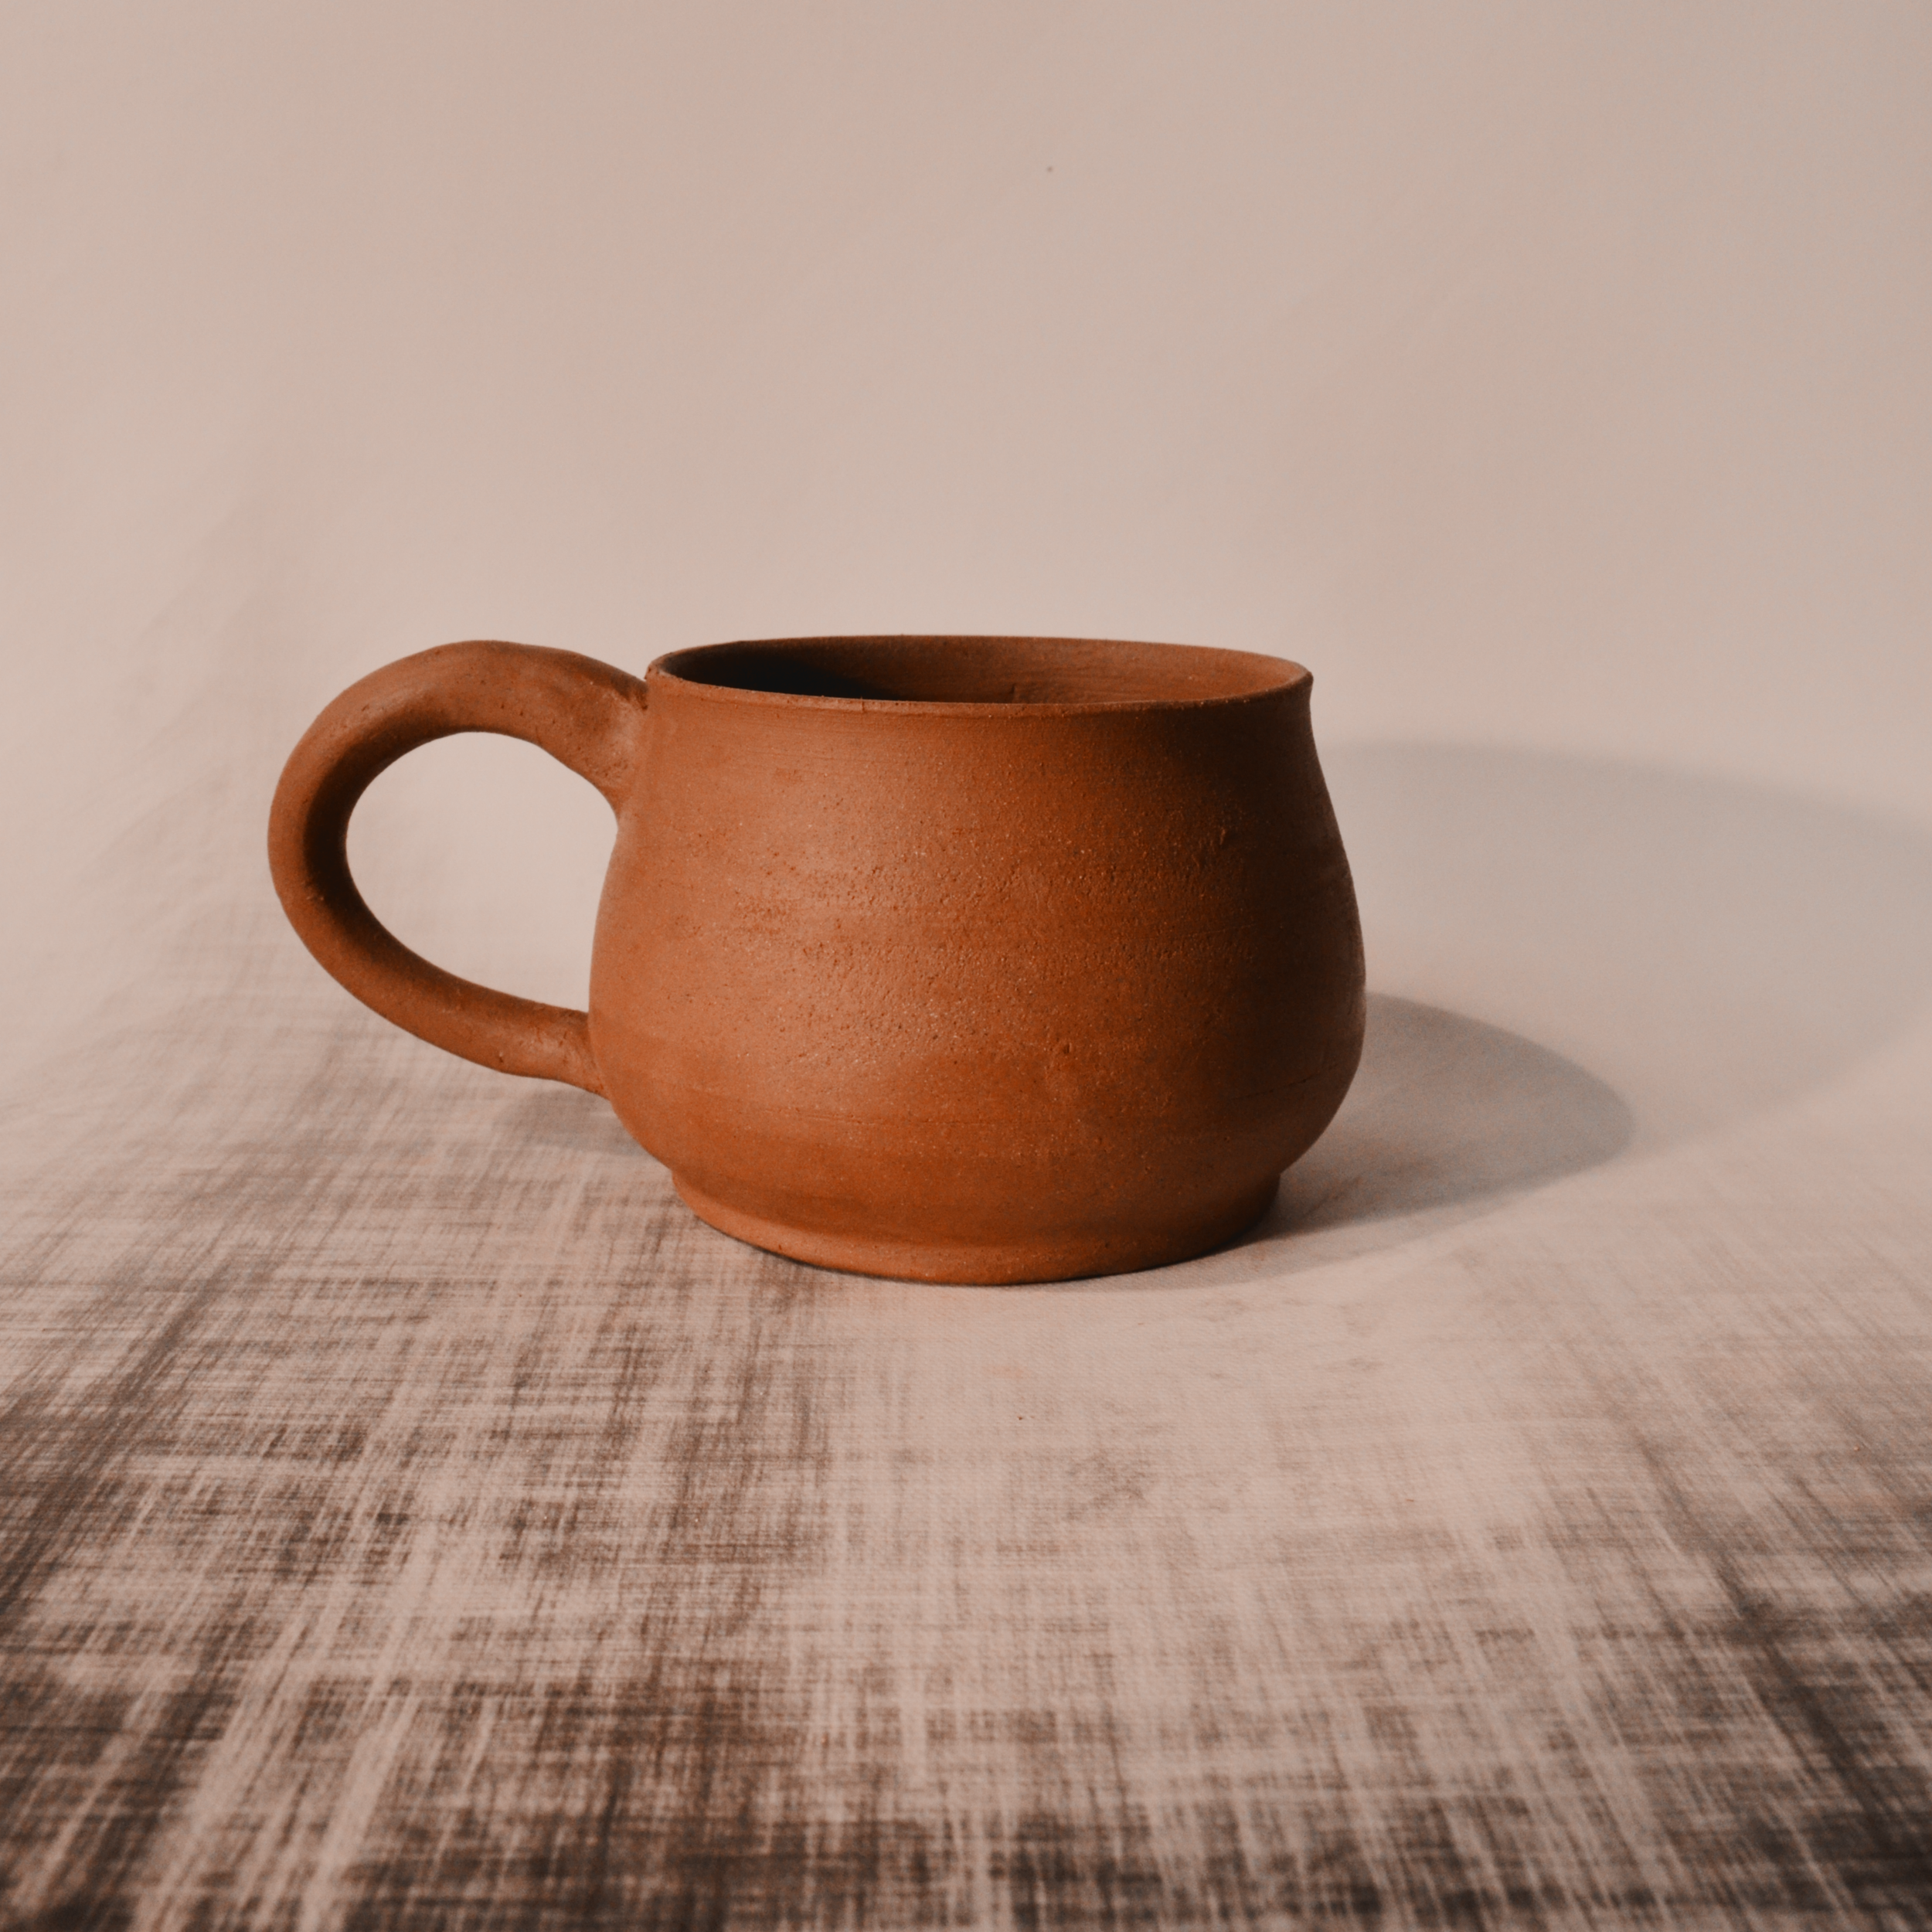
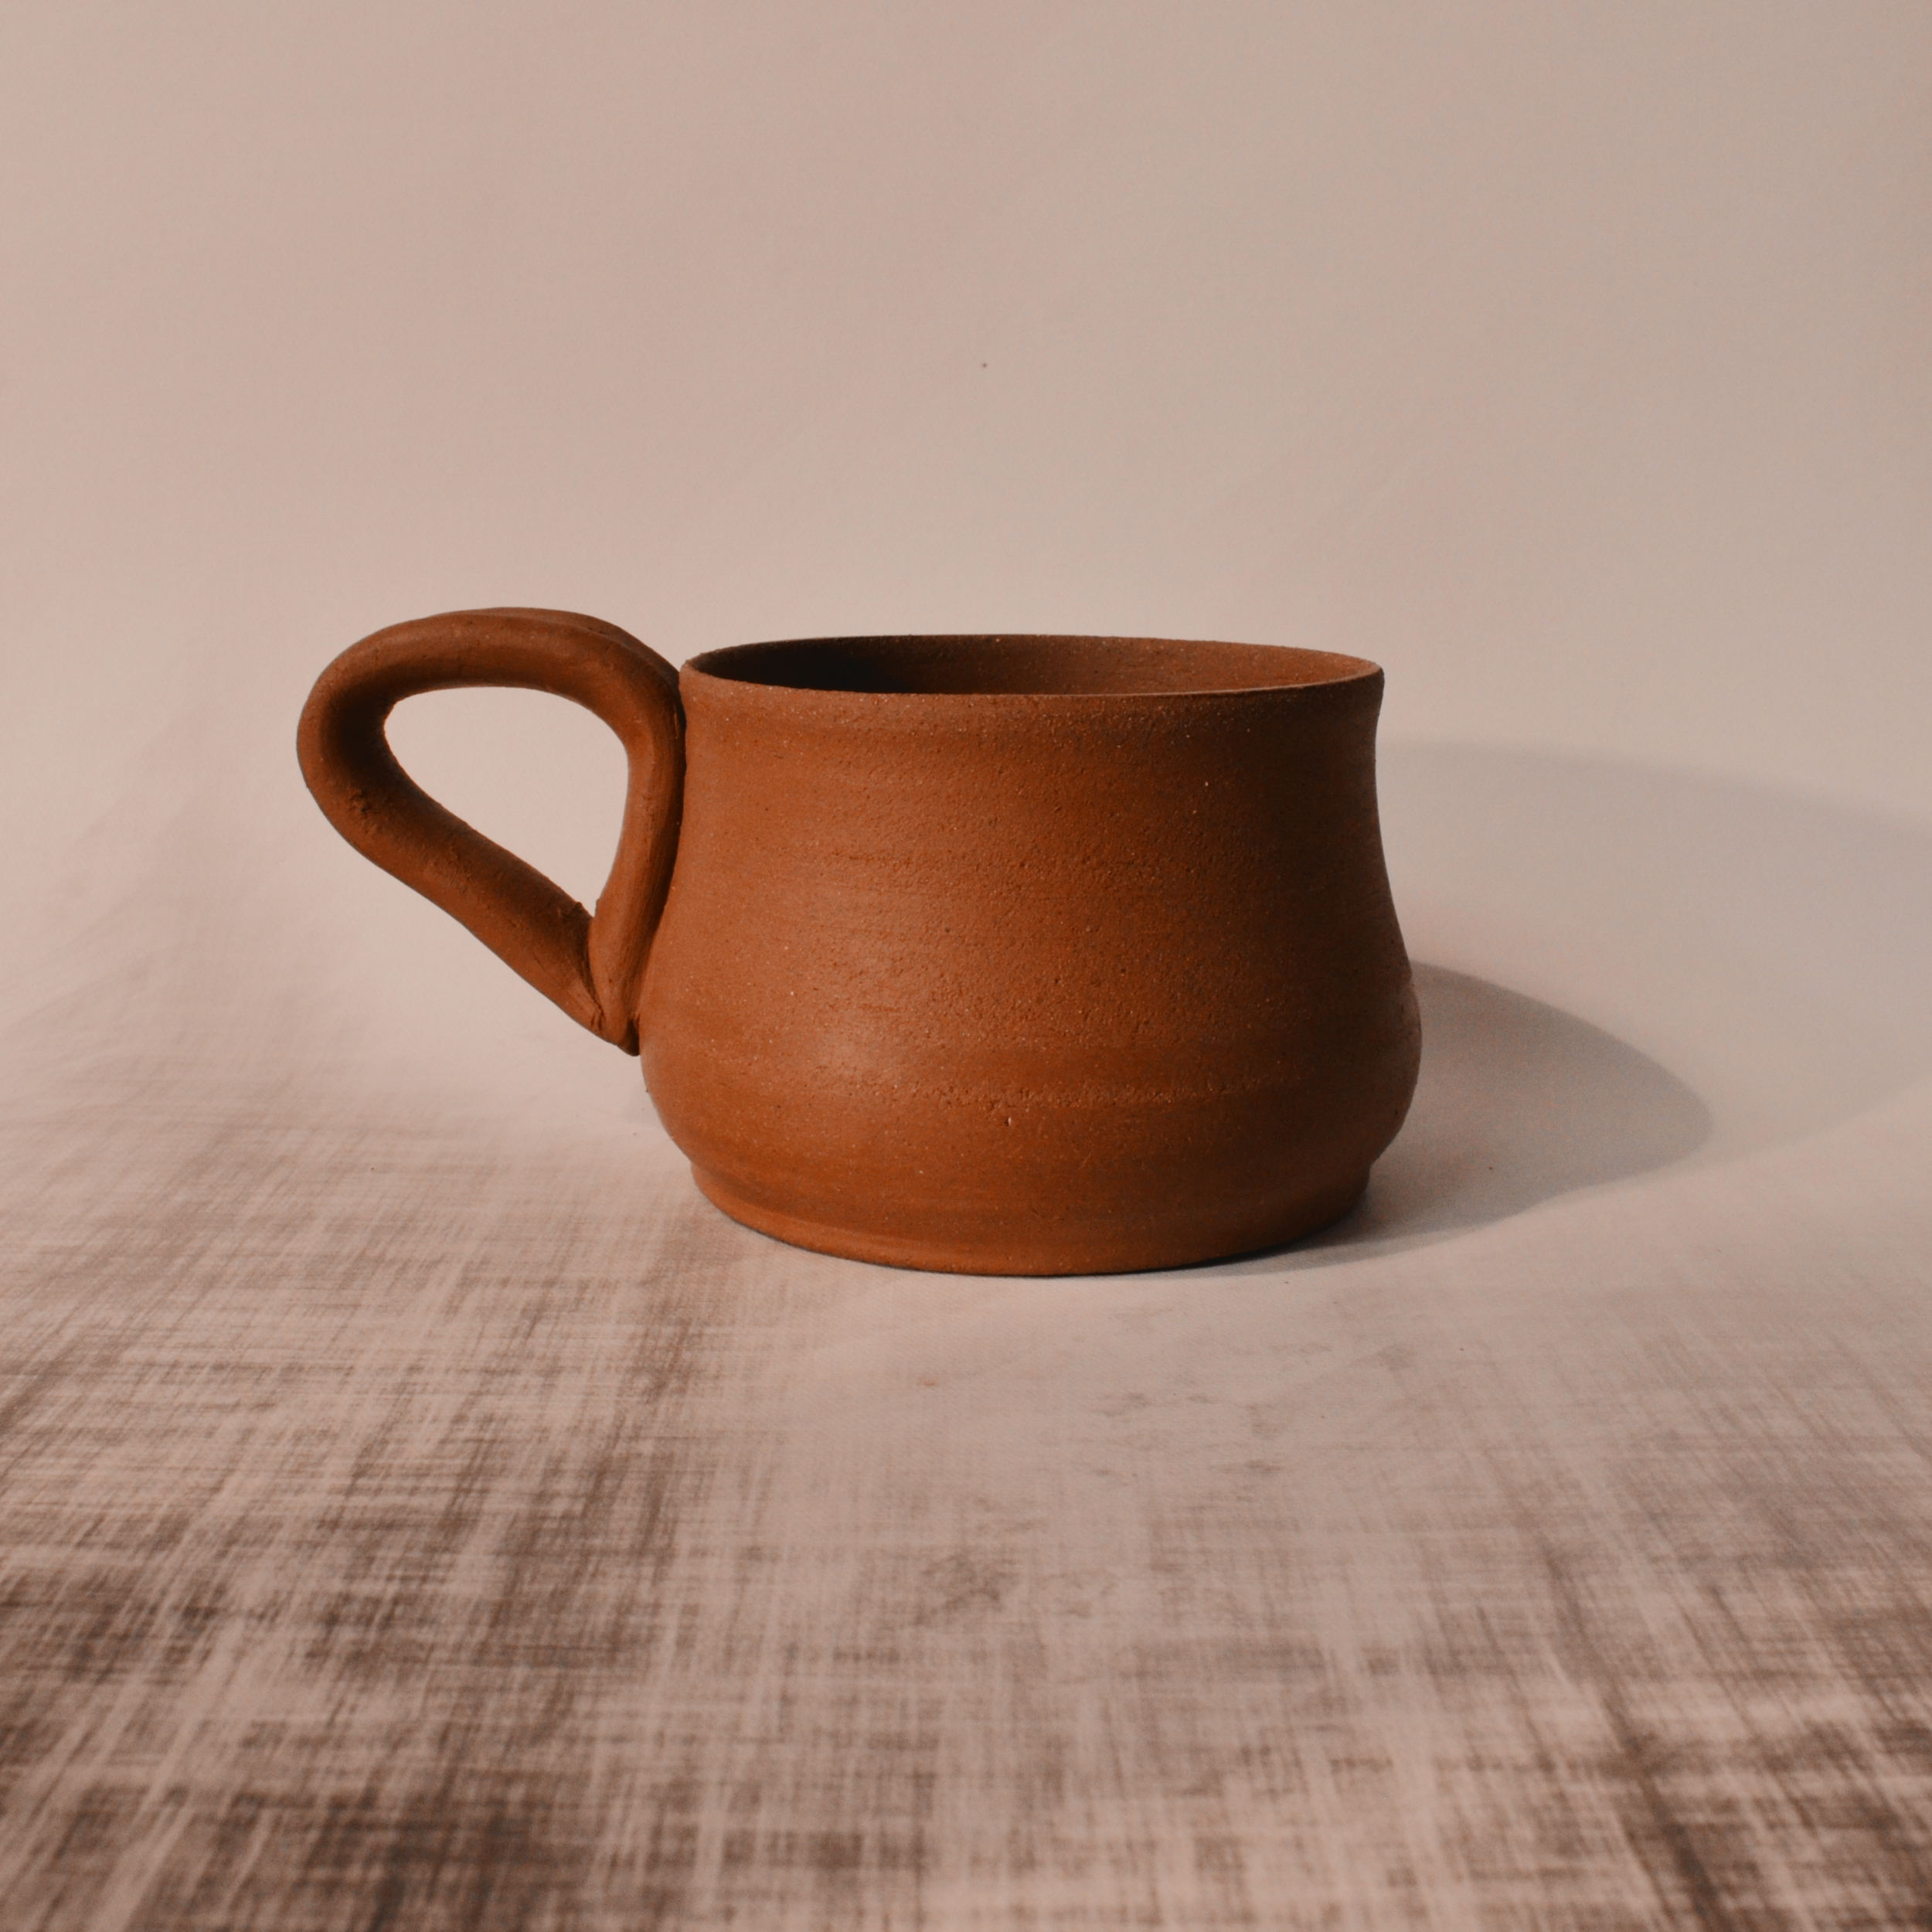
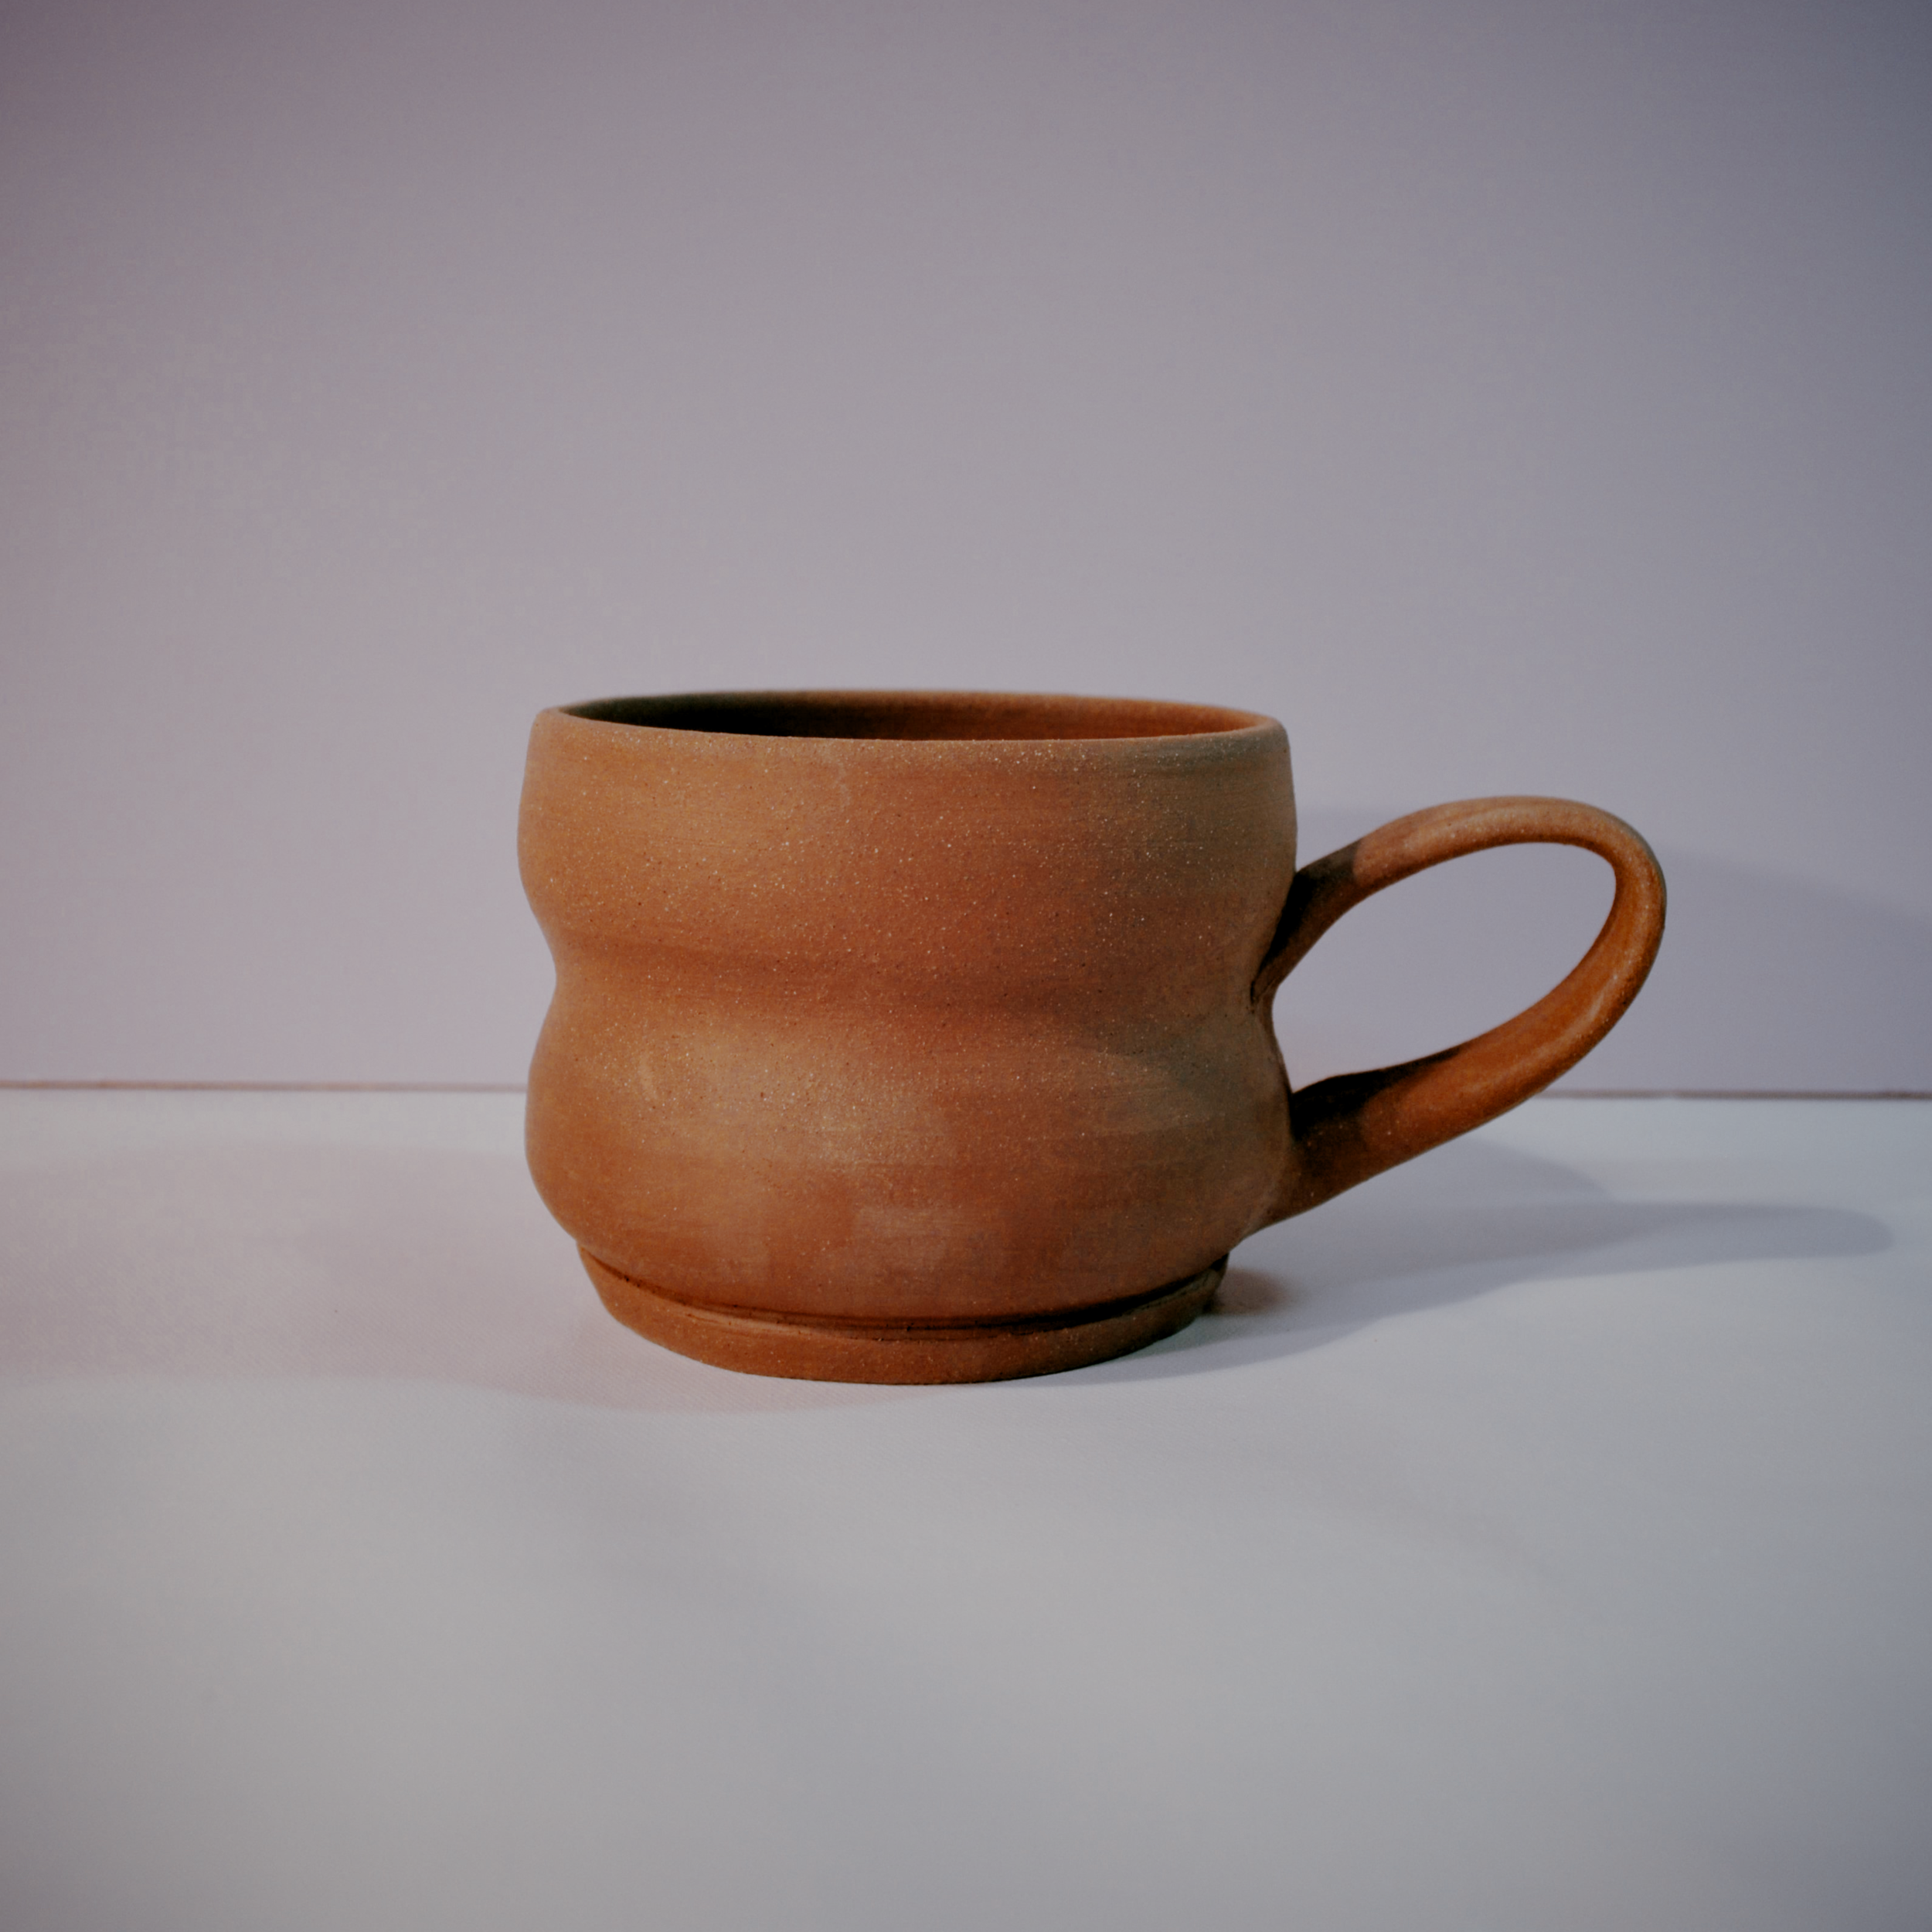
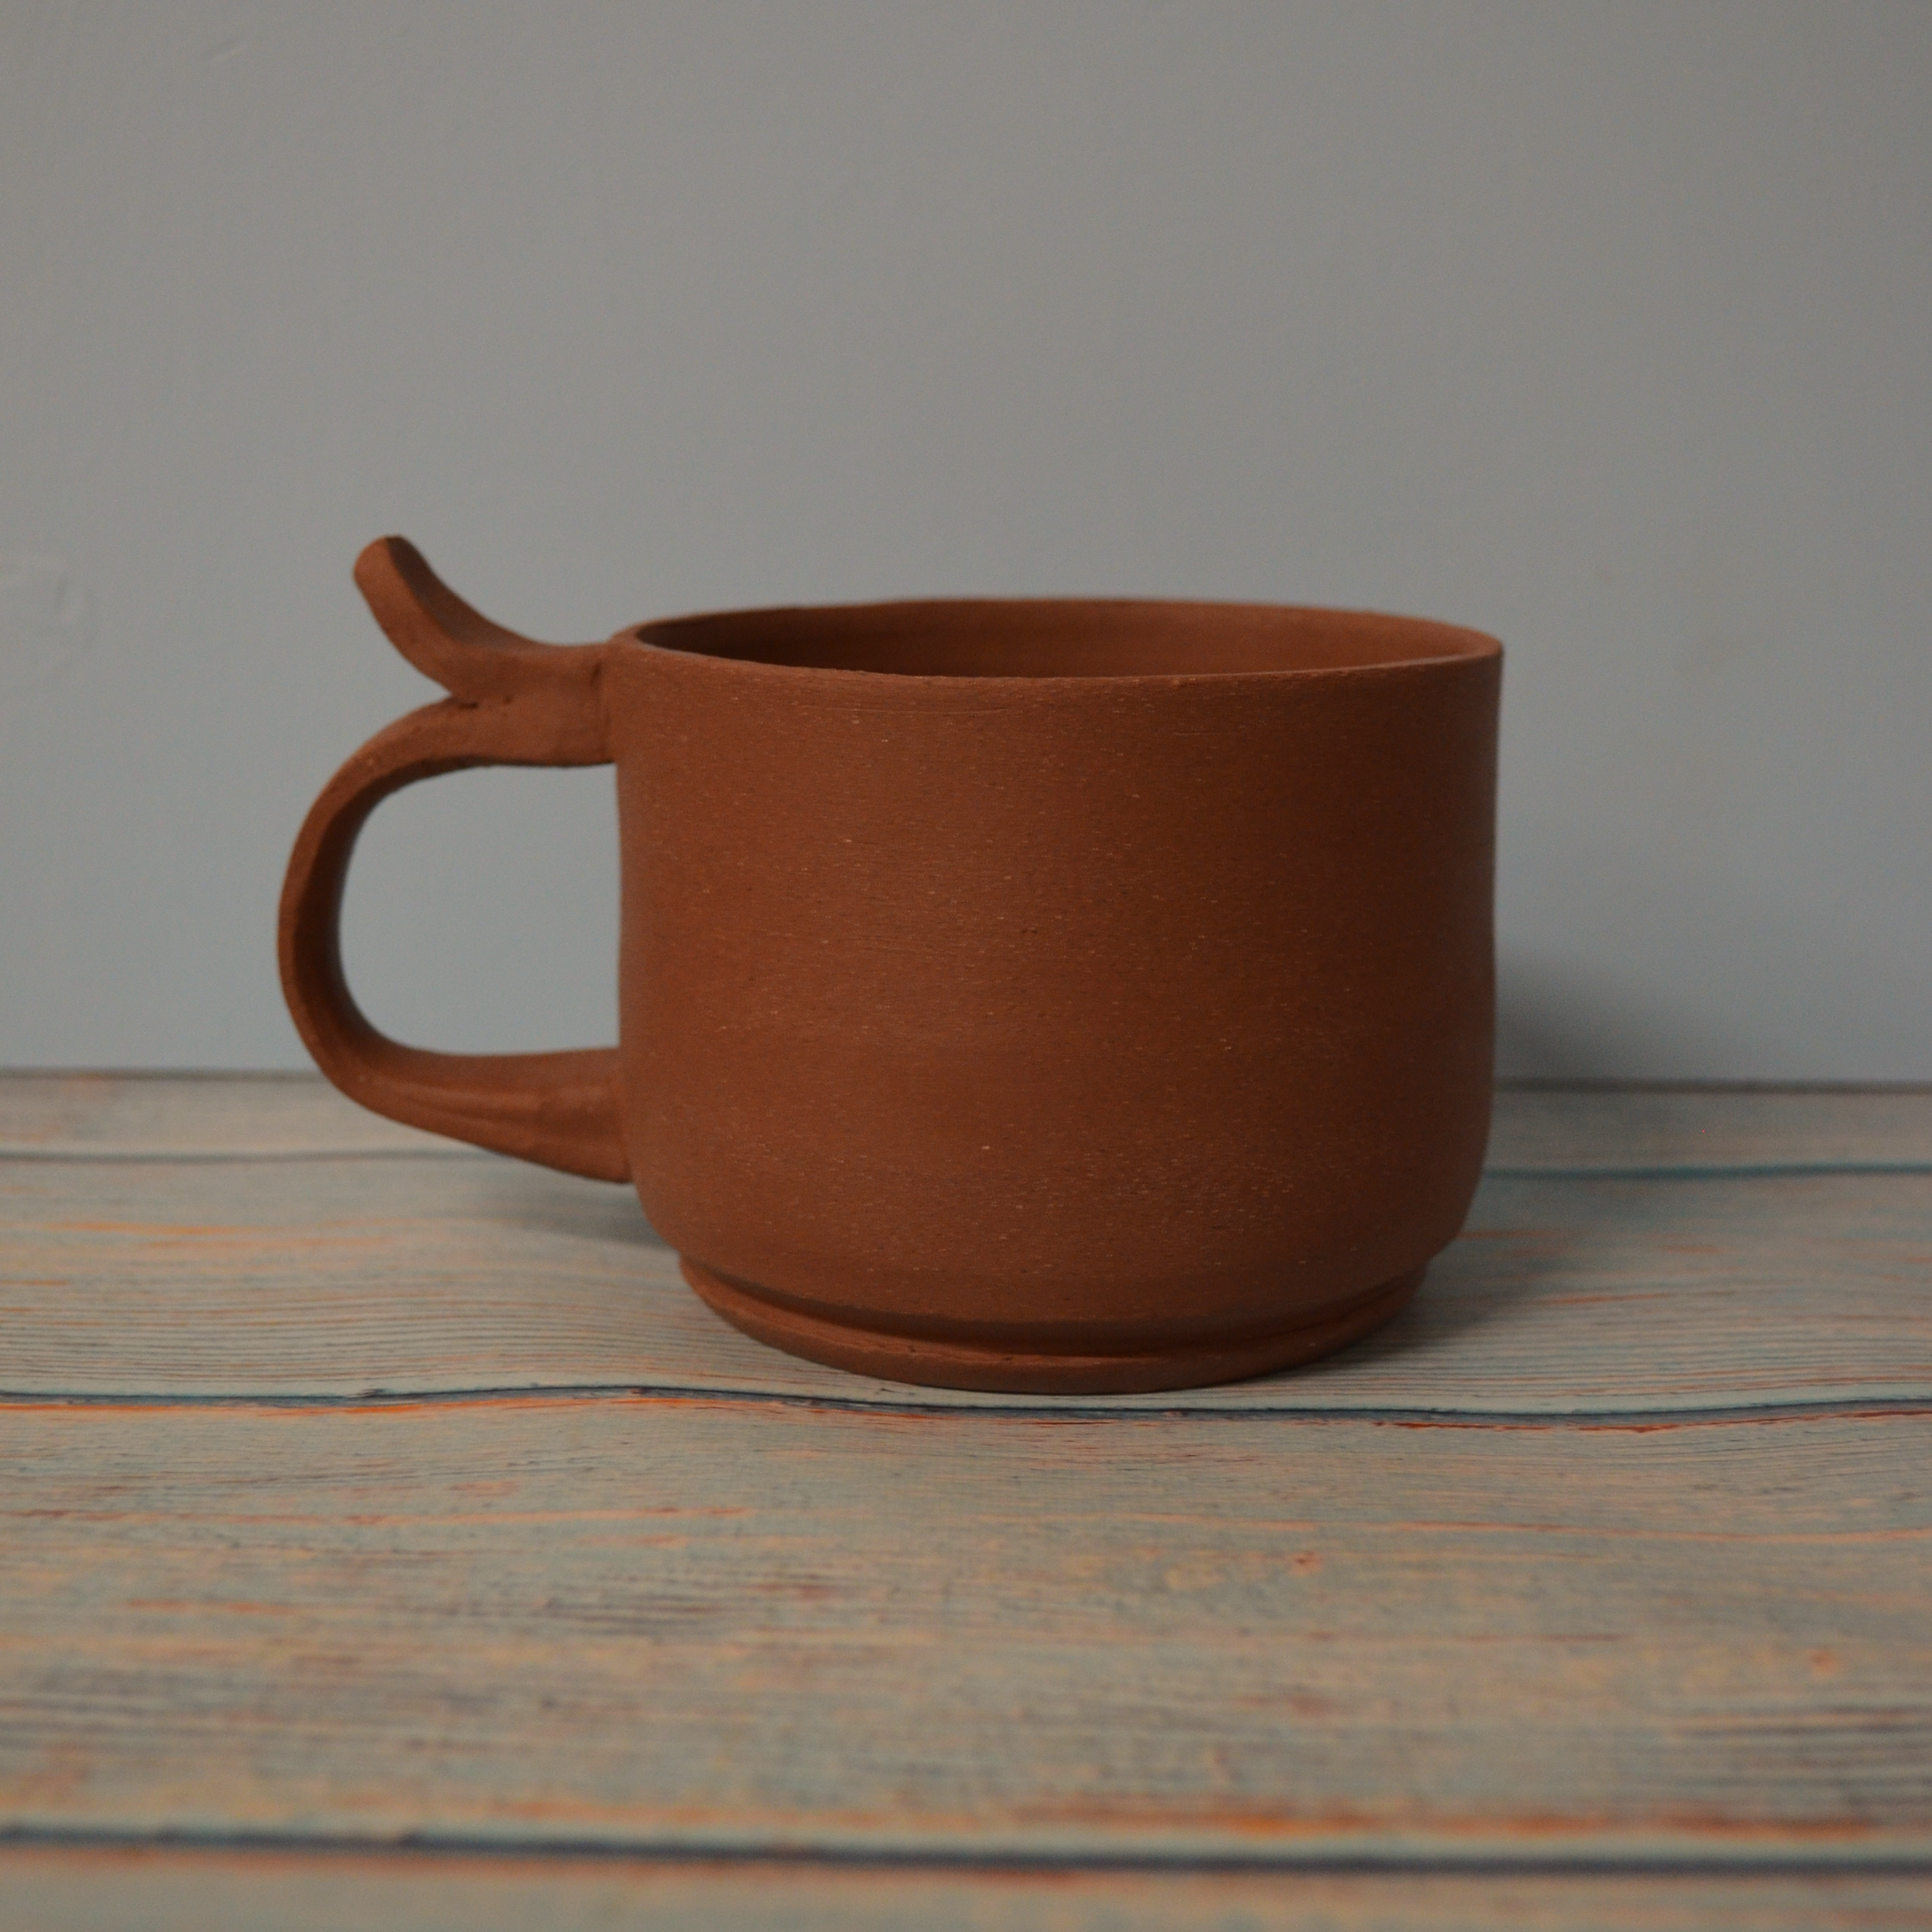
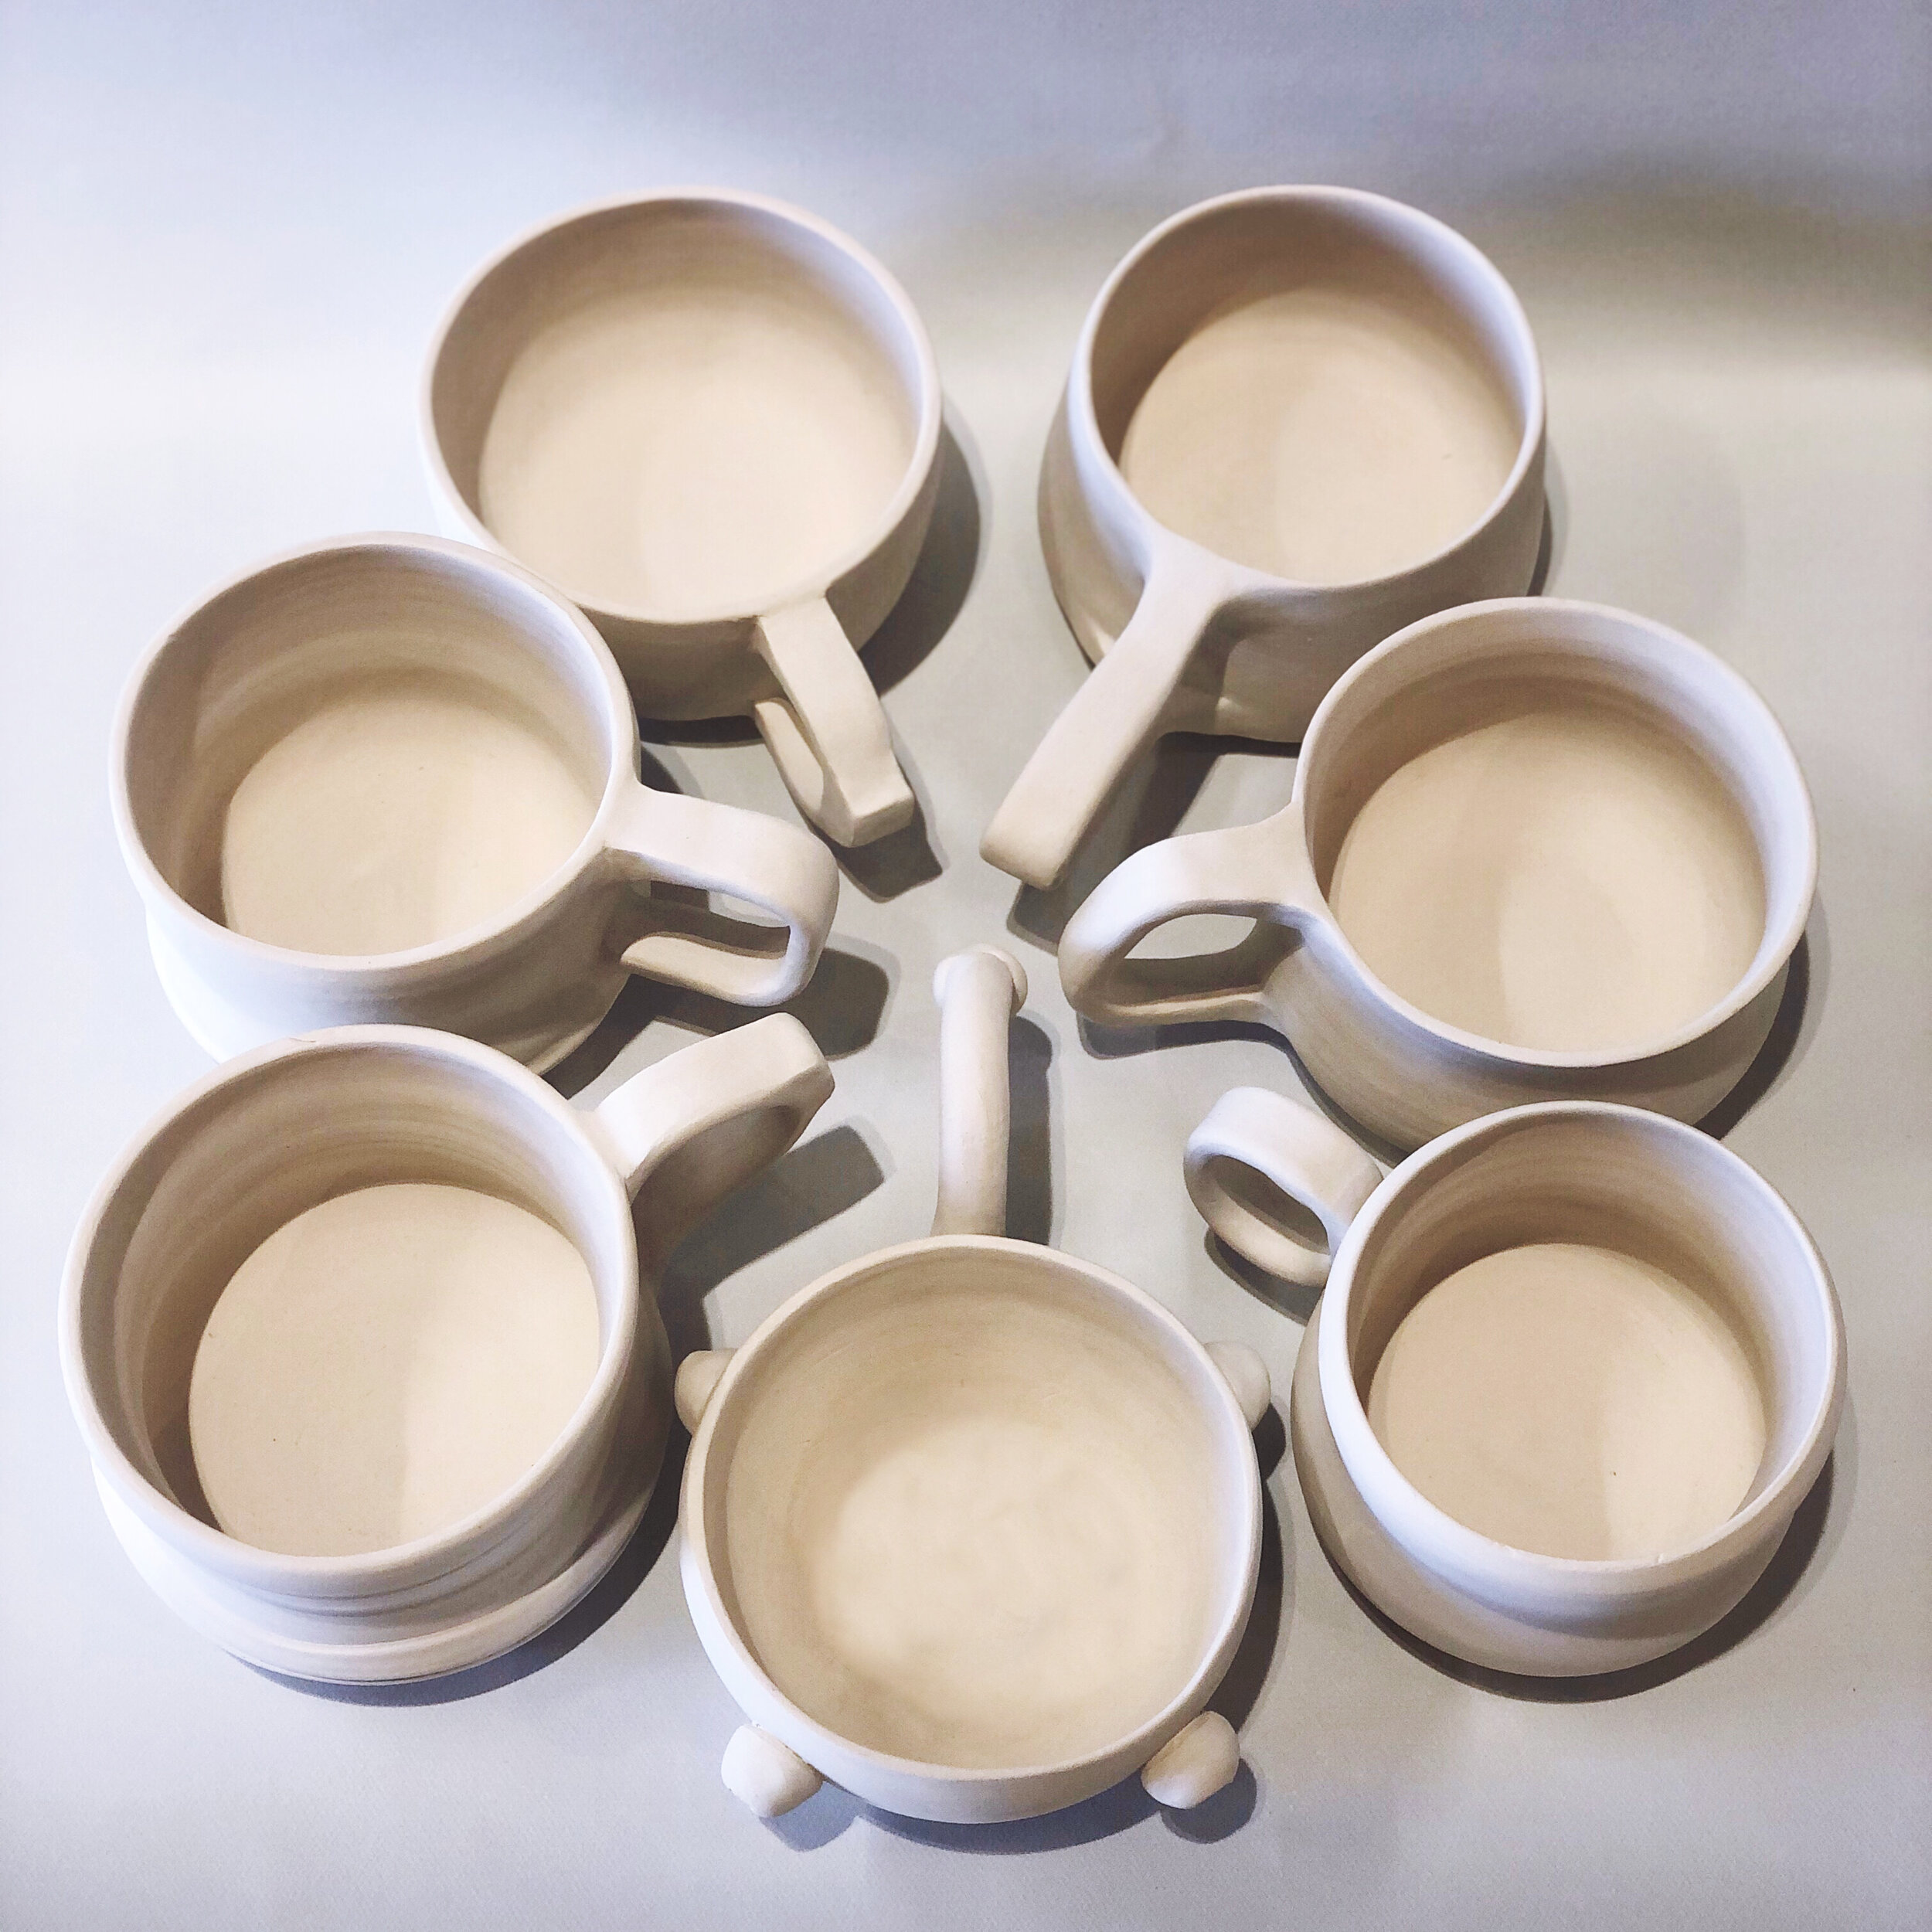
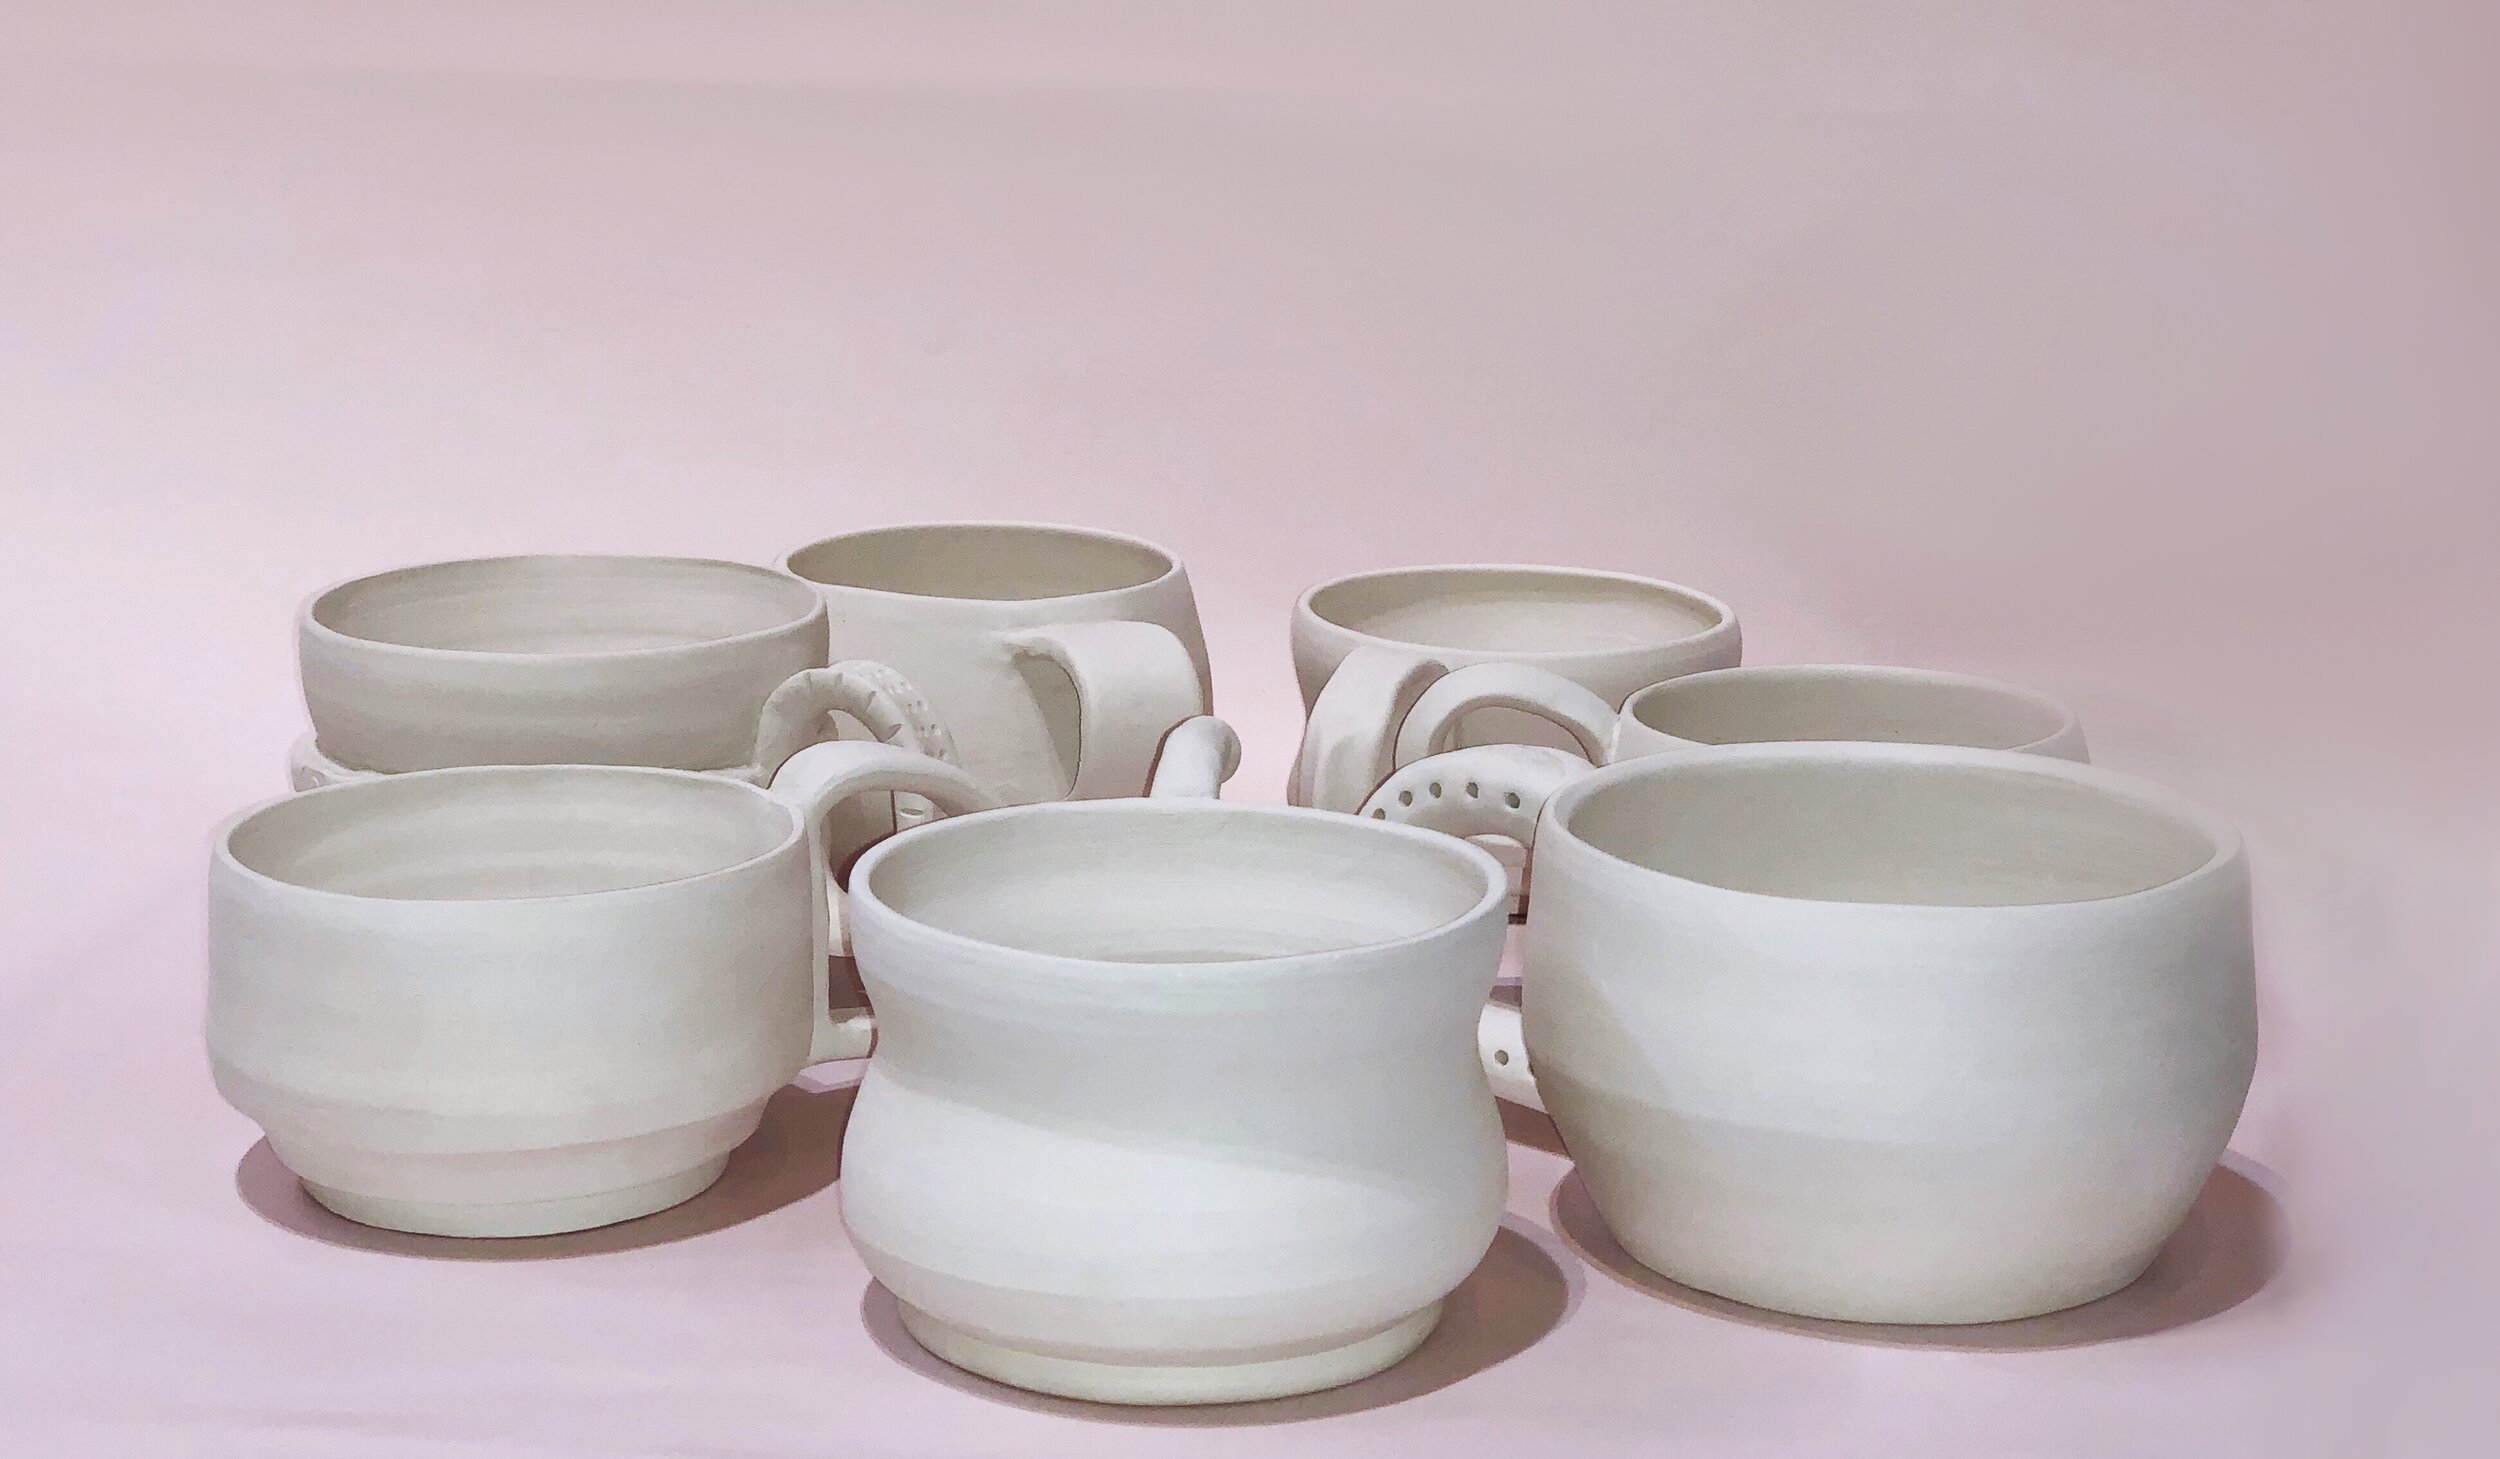
On February 1, 2020, I started my project #100Mugs100Ways, committing each day to post a different mug on Instagram. To document this project, I started this blog on my website.
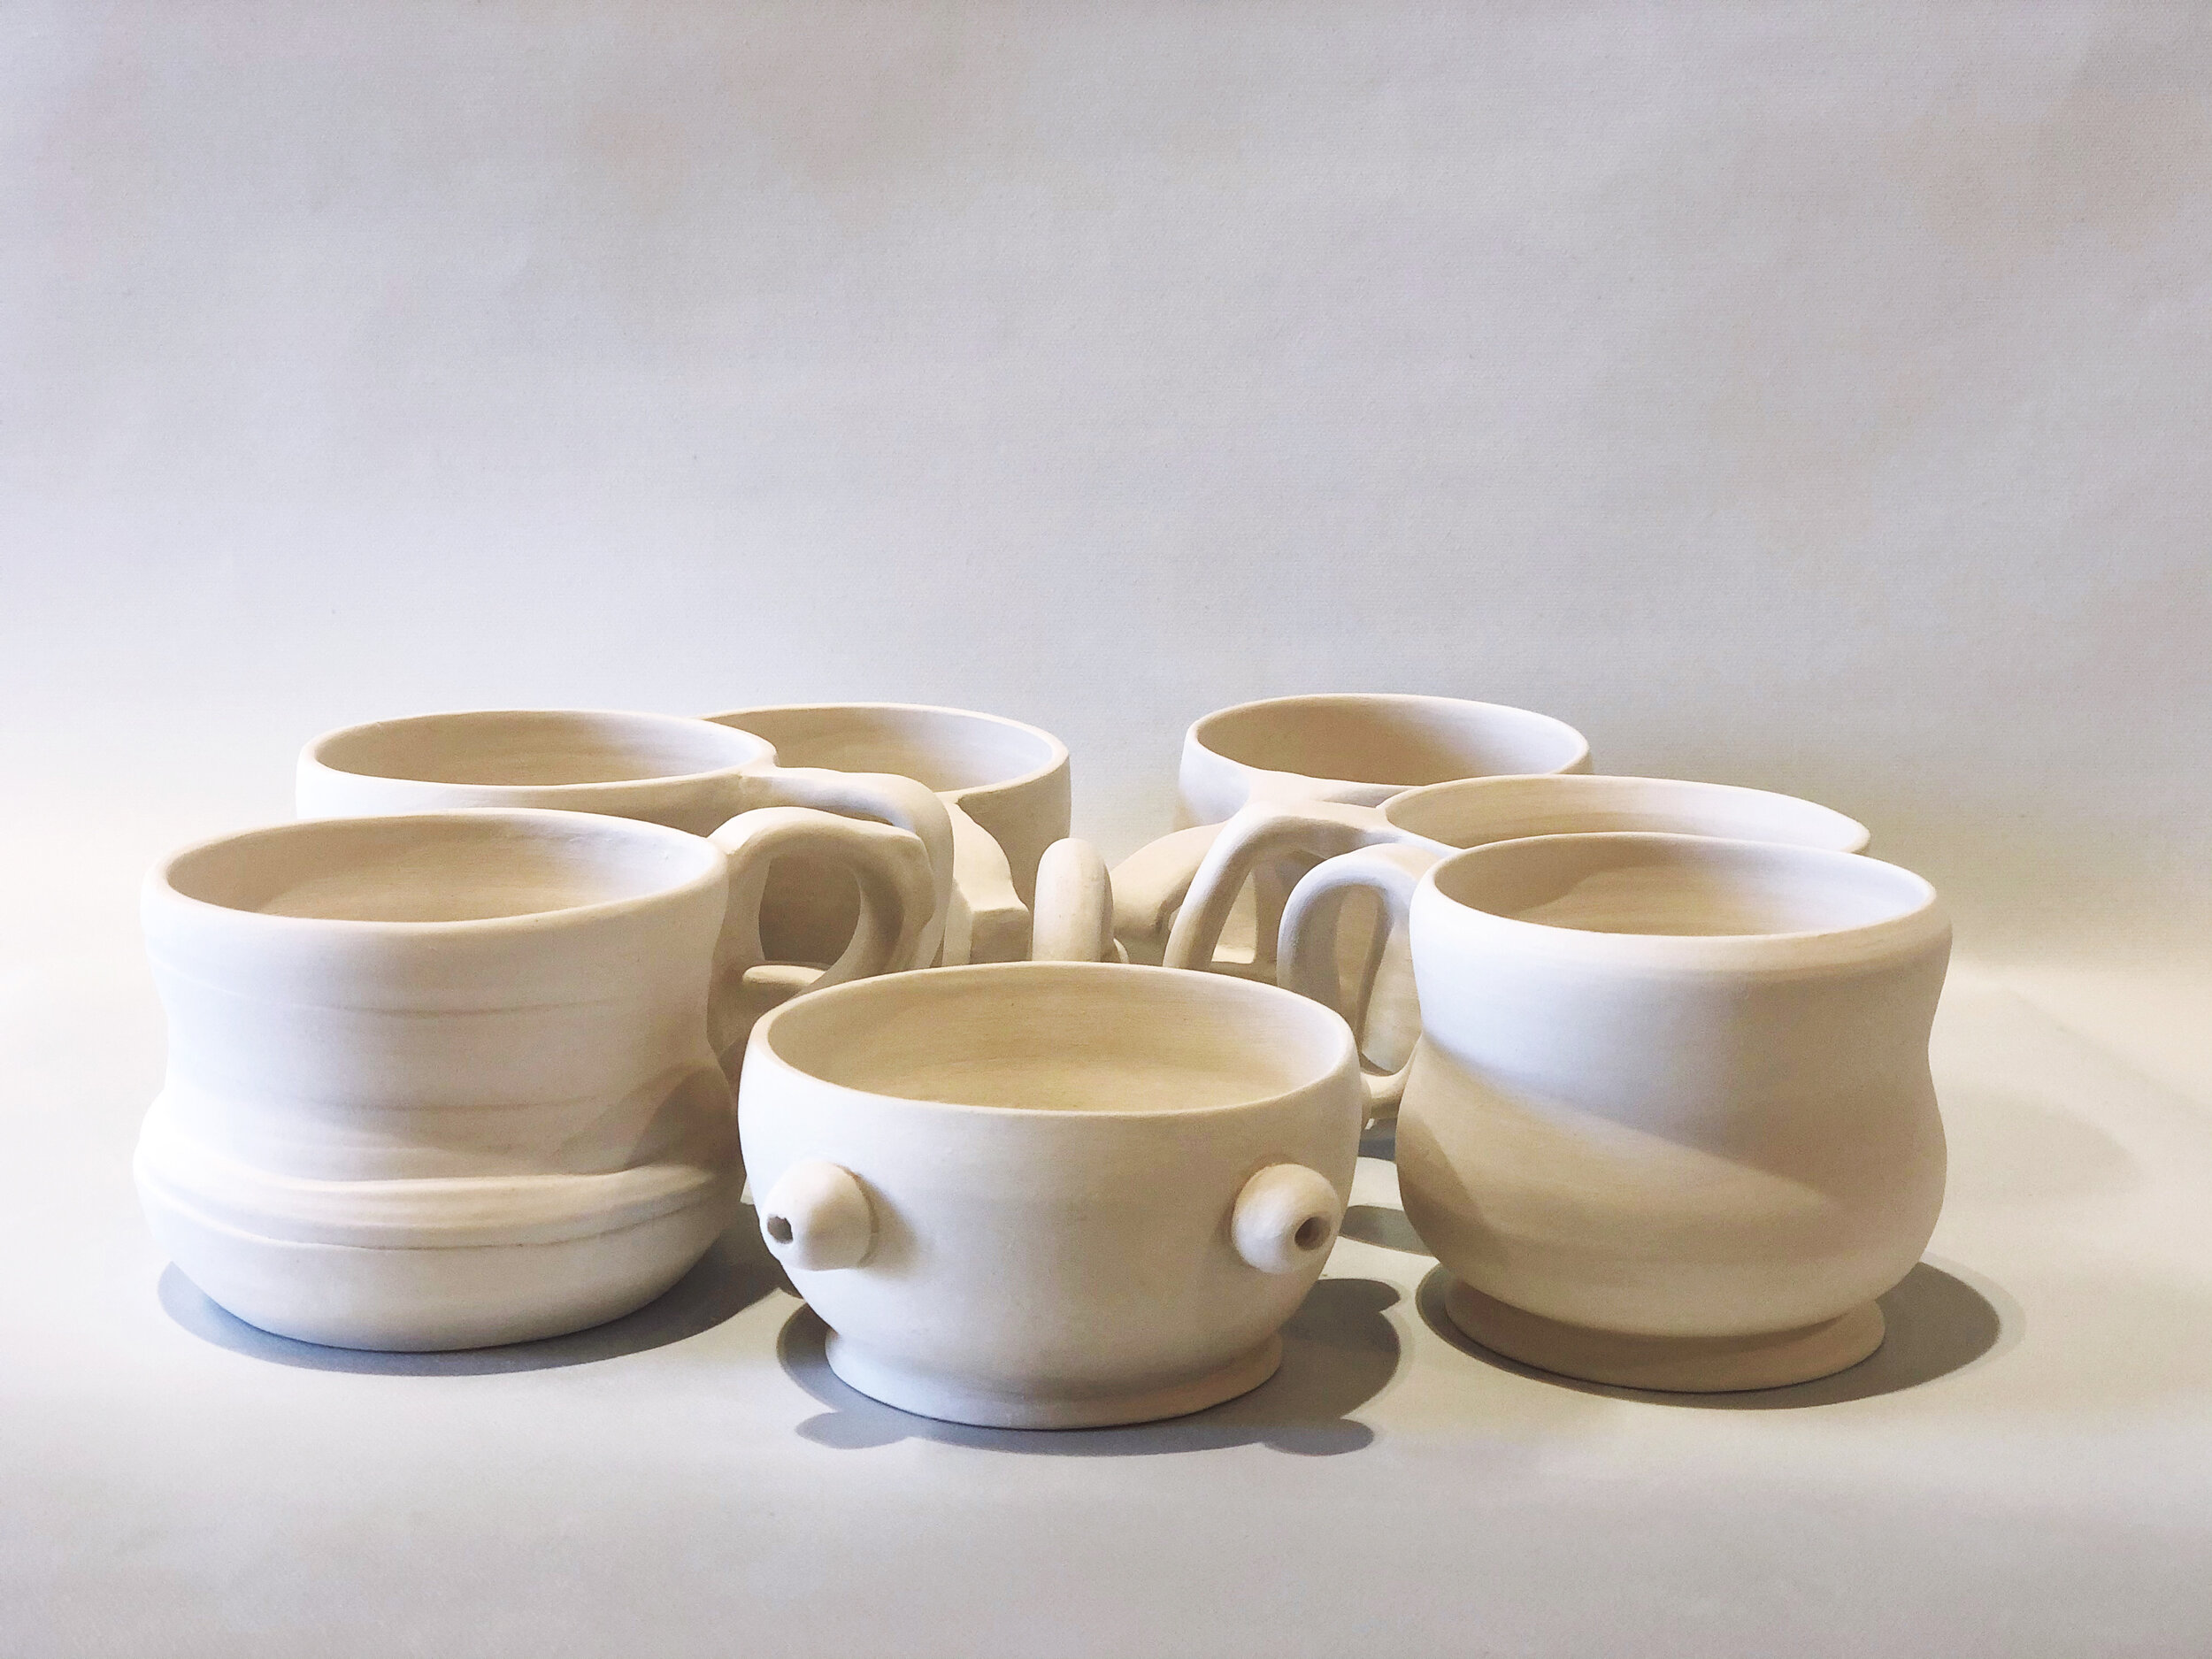
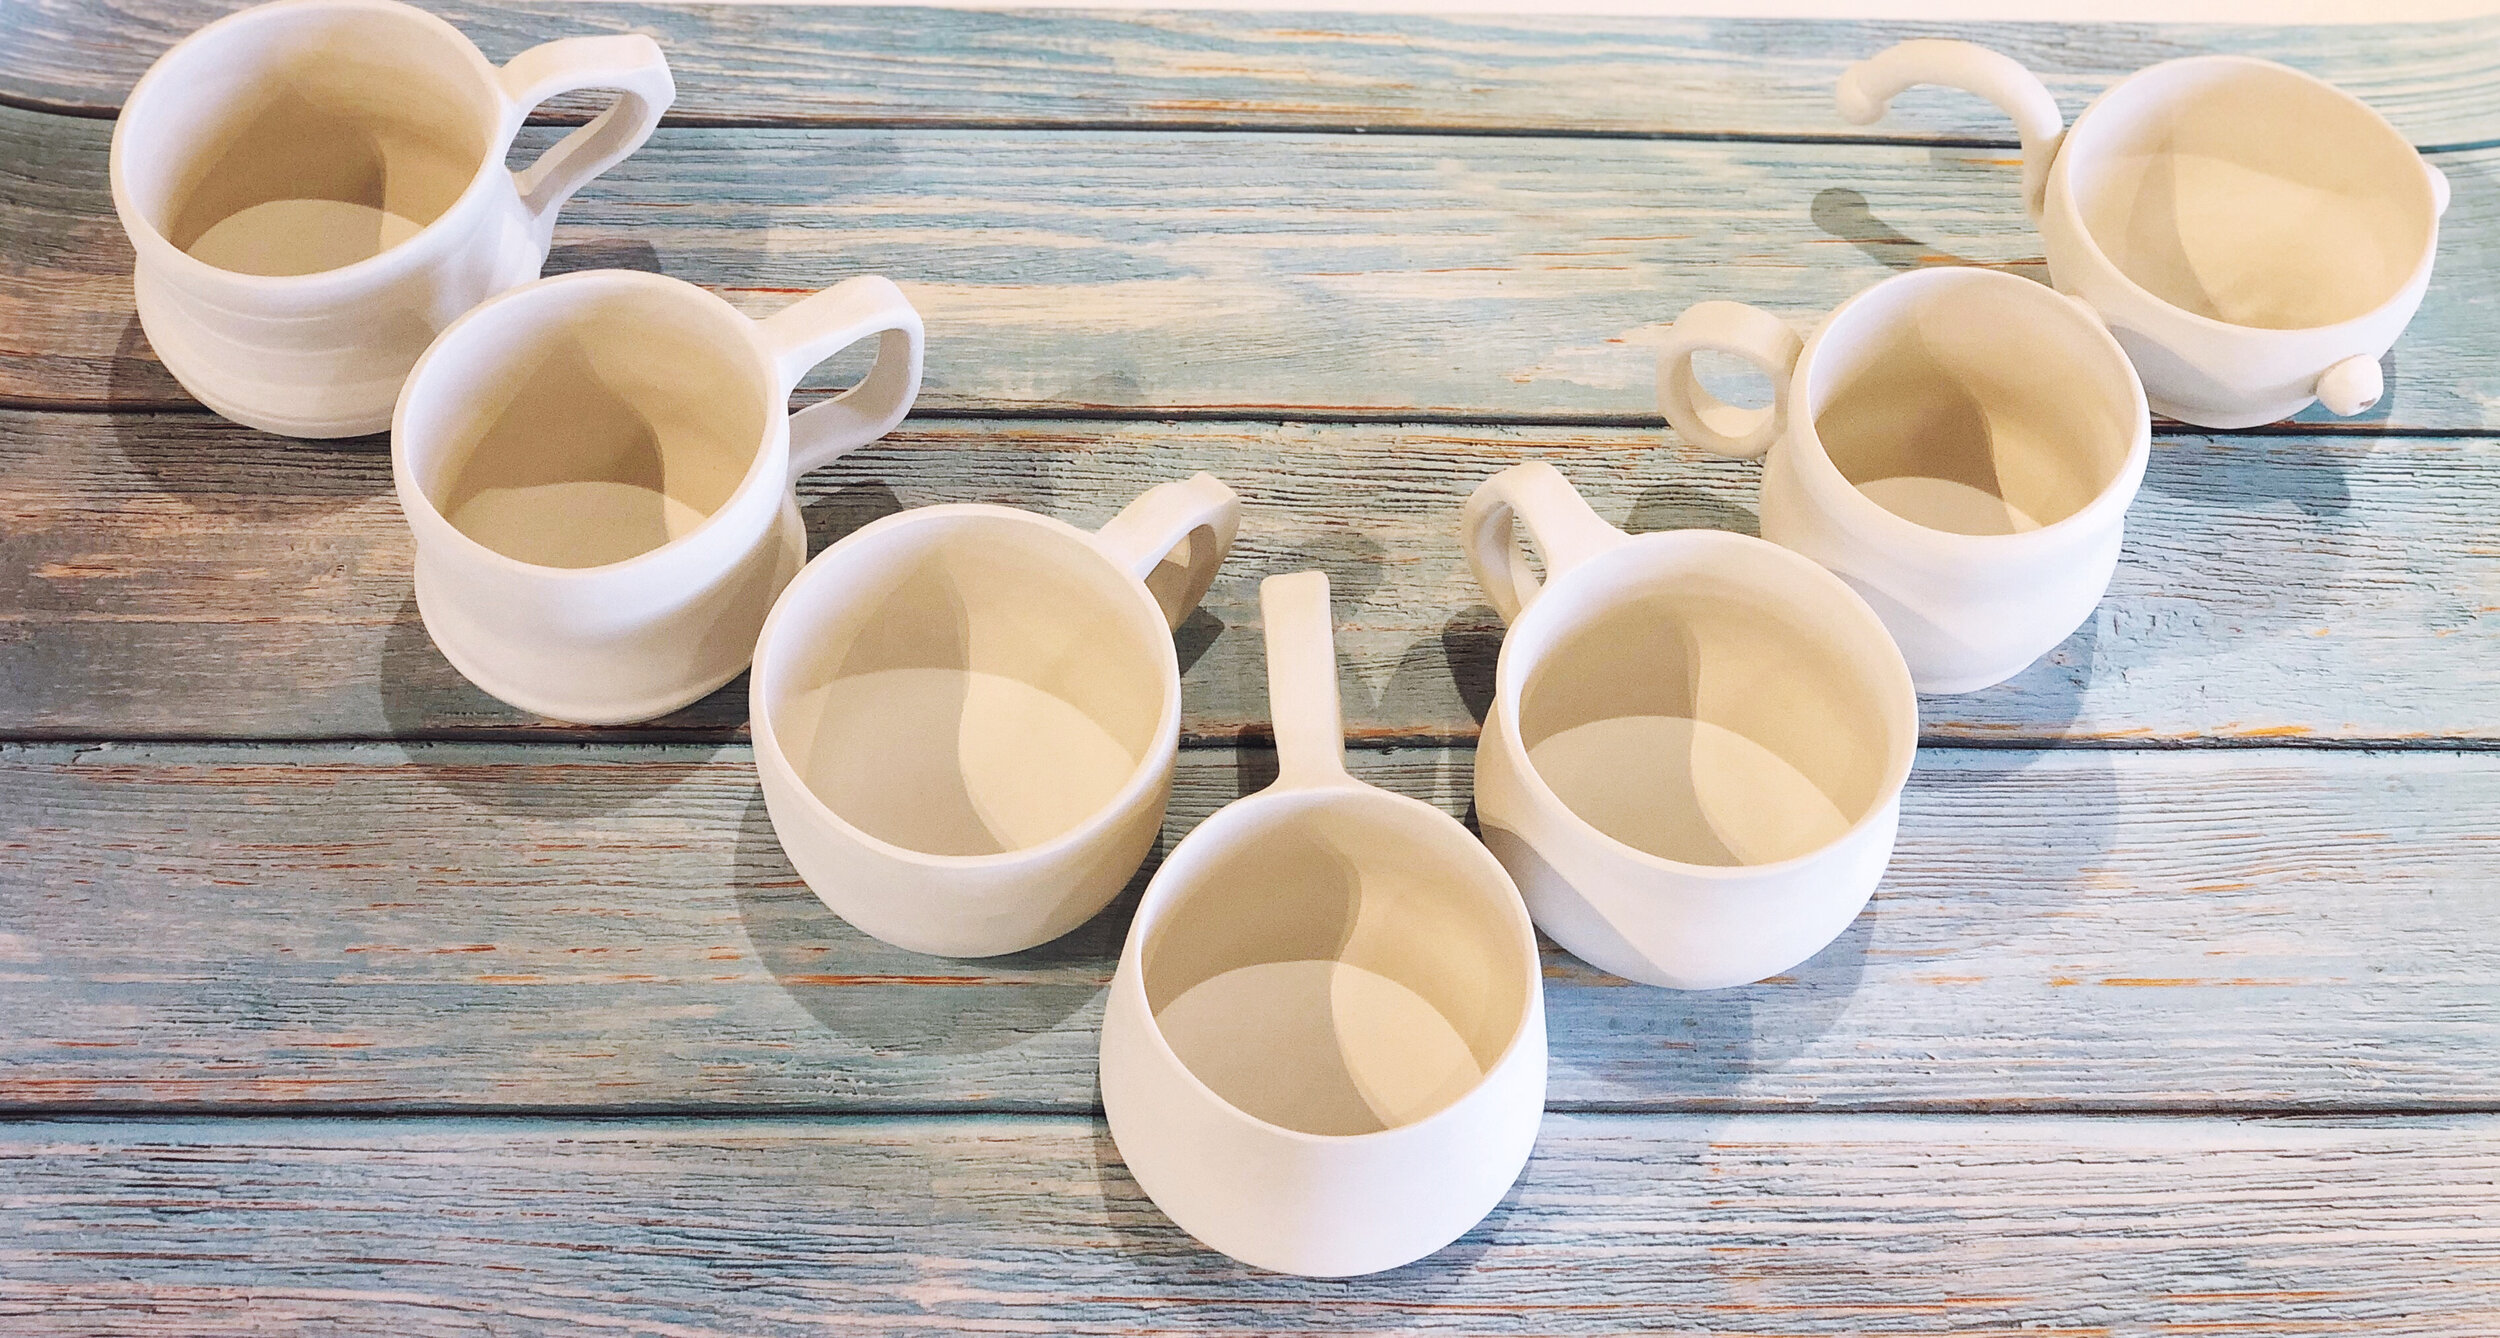
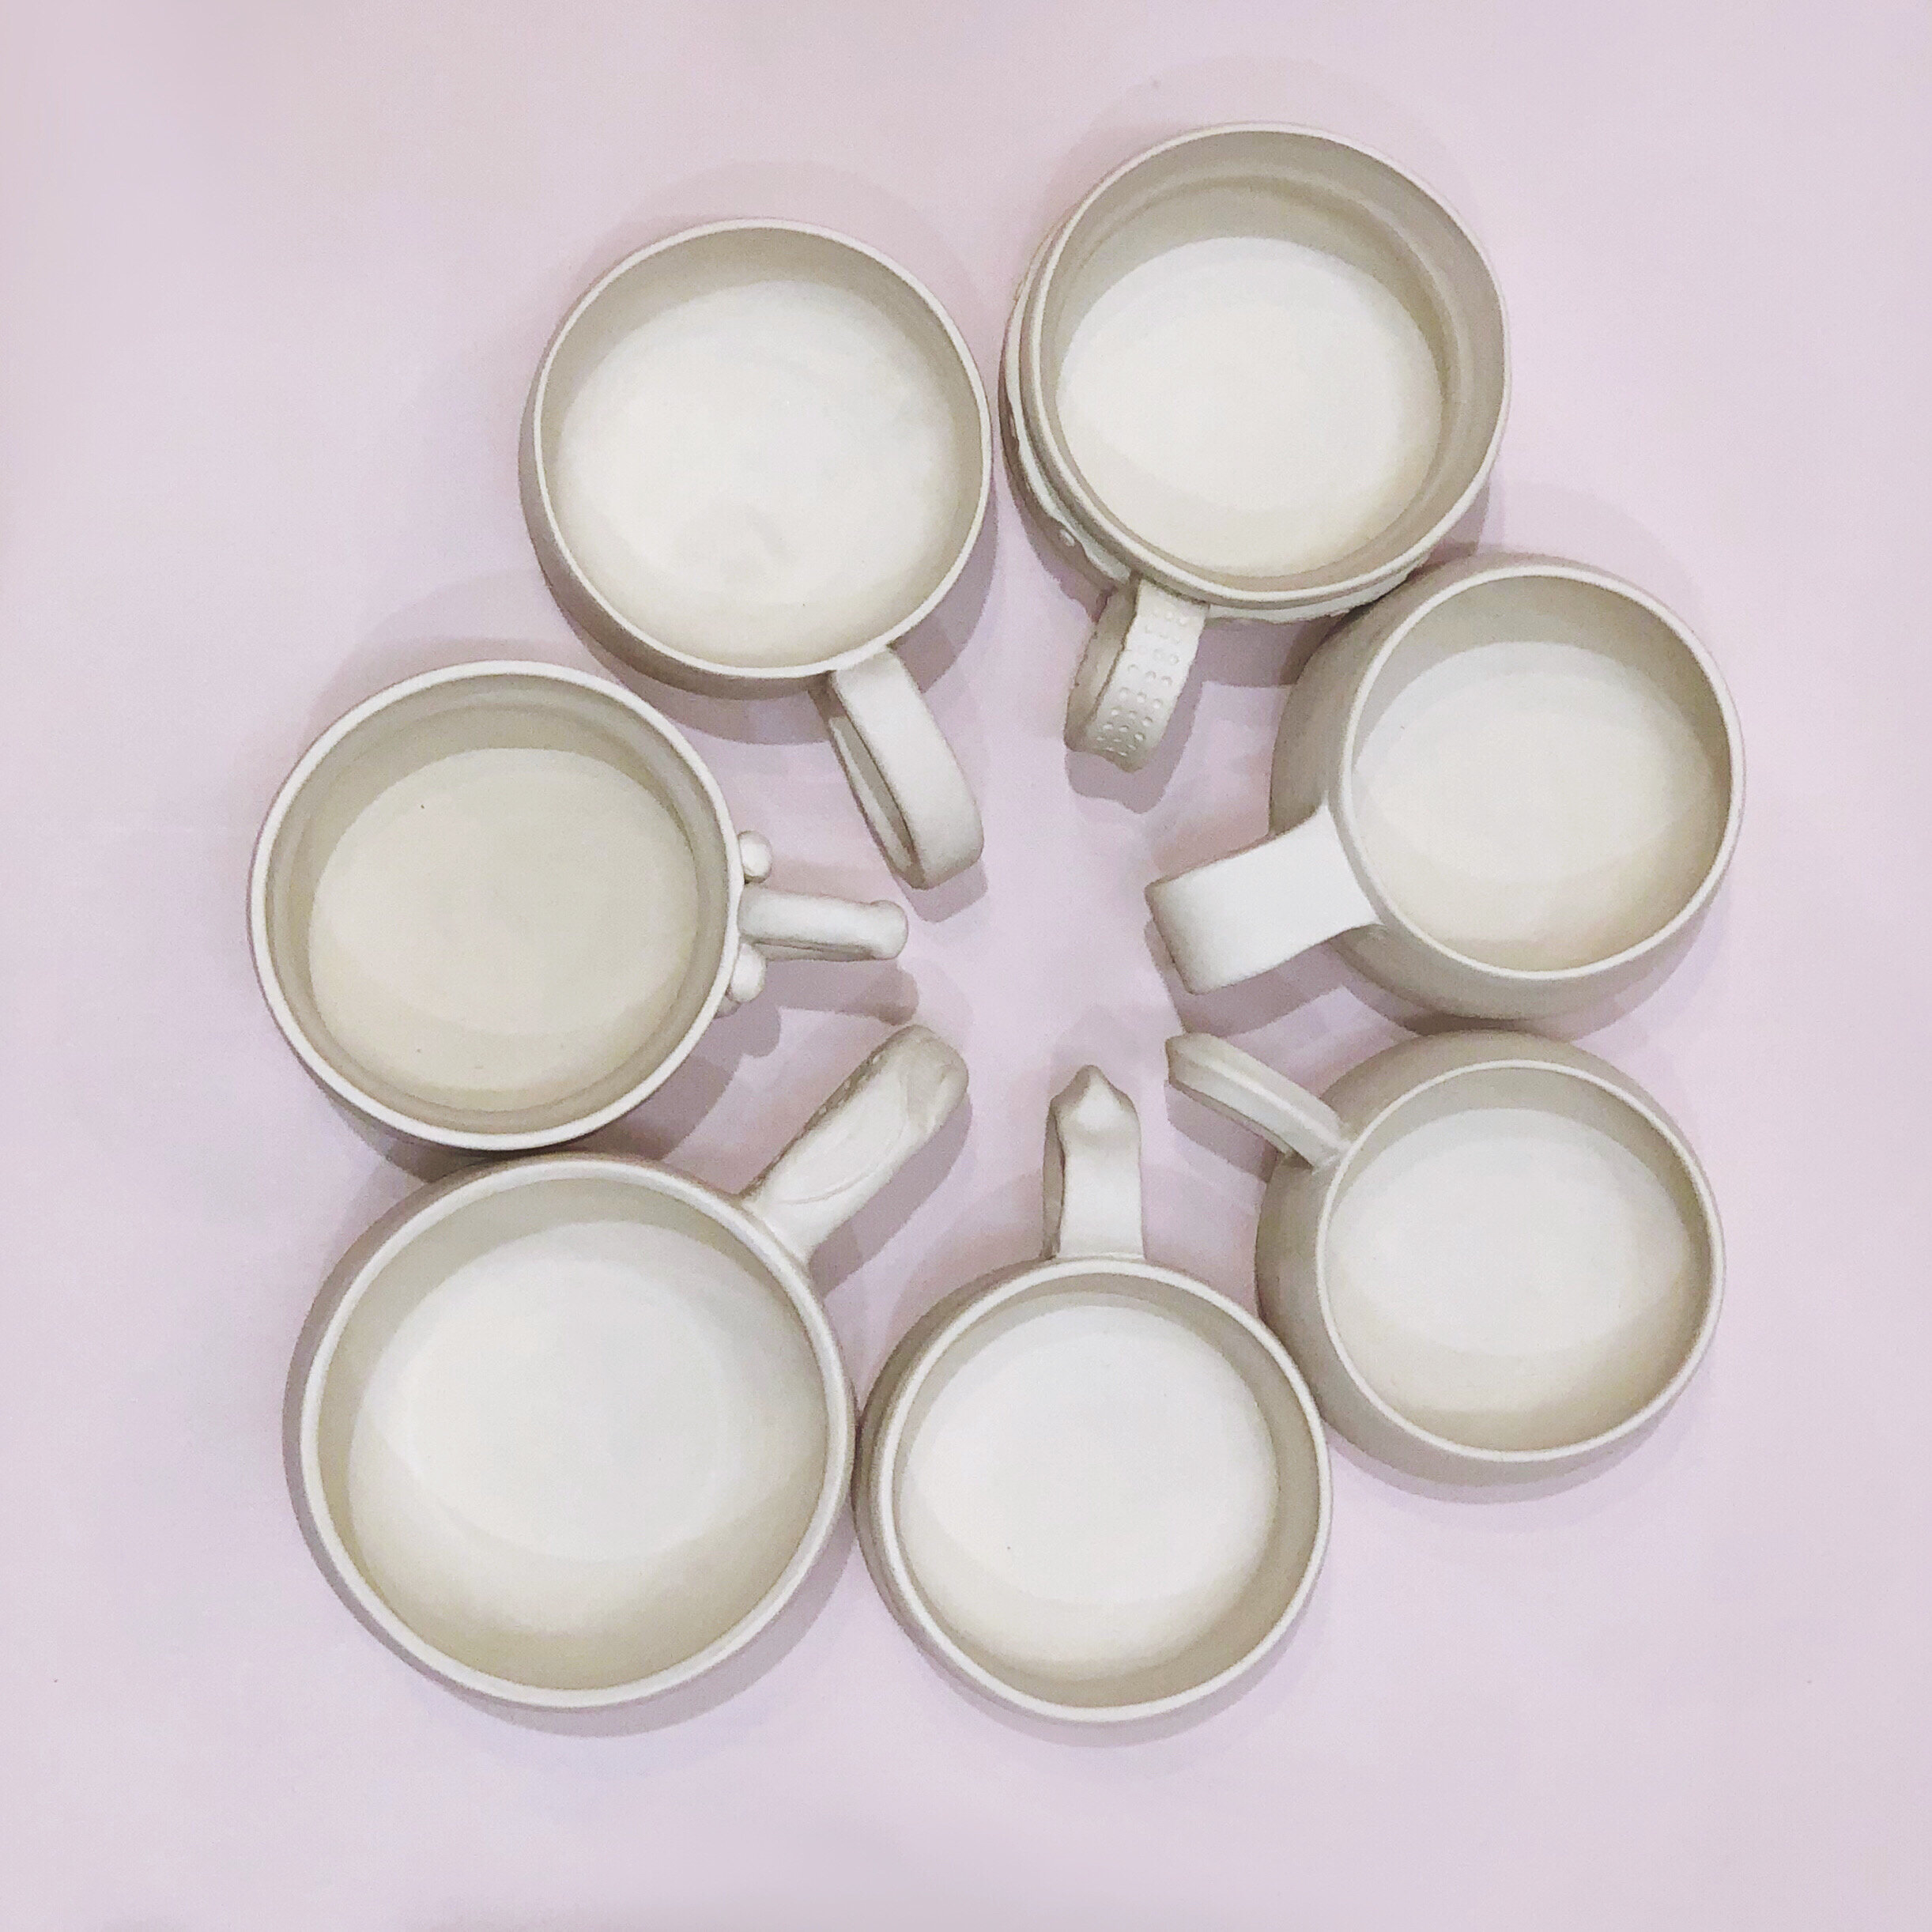
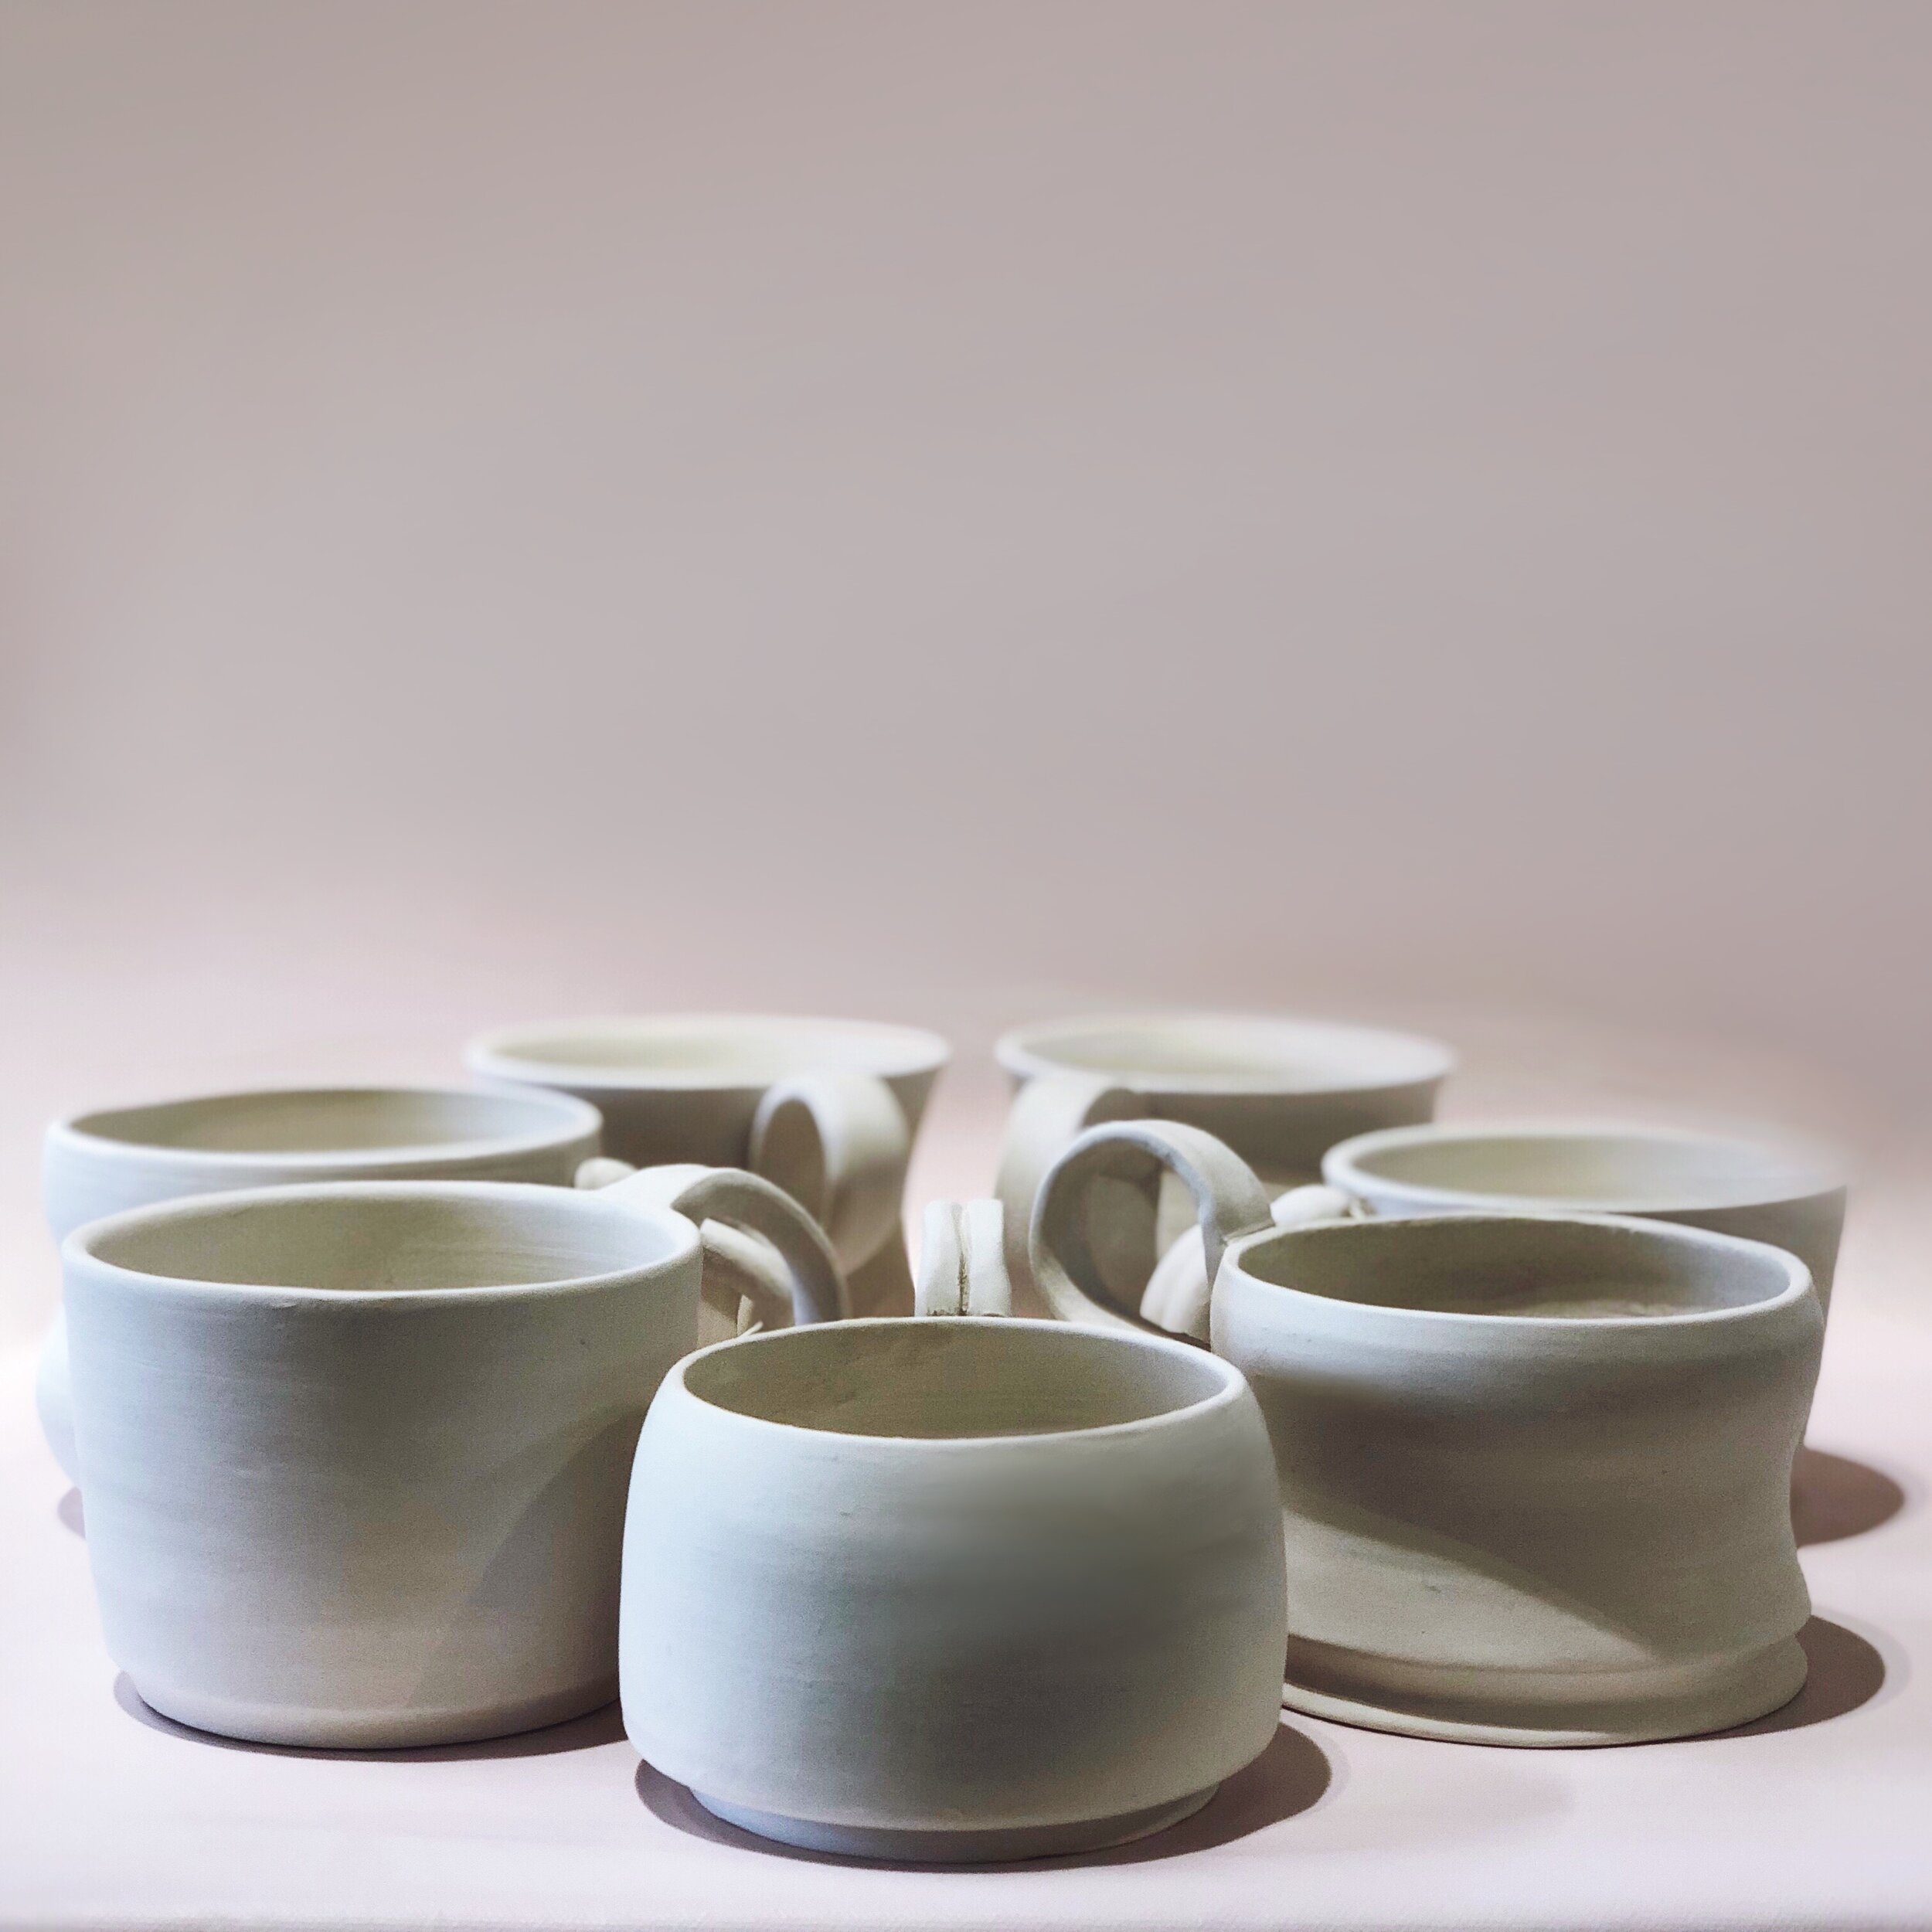
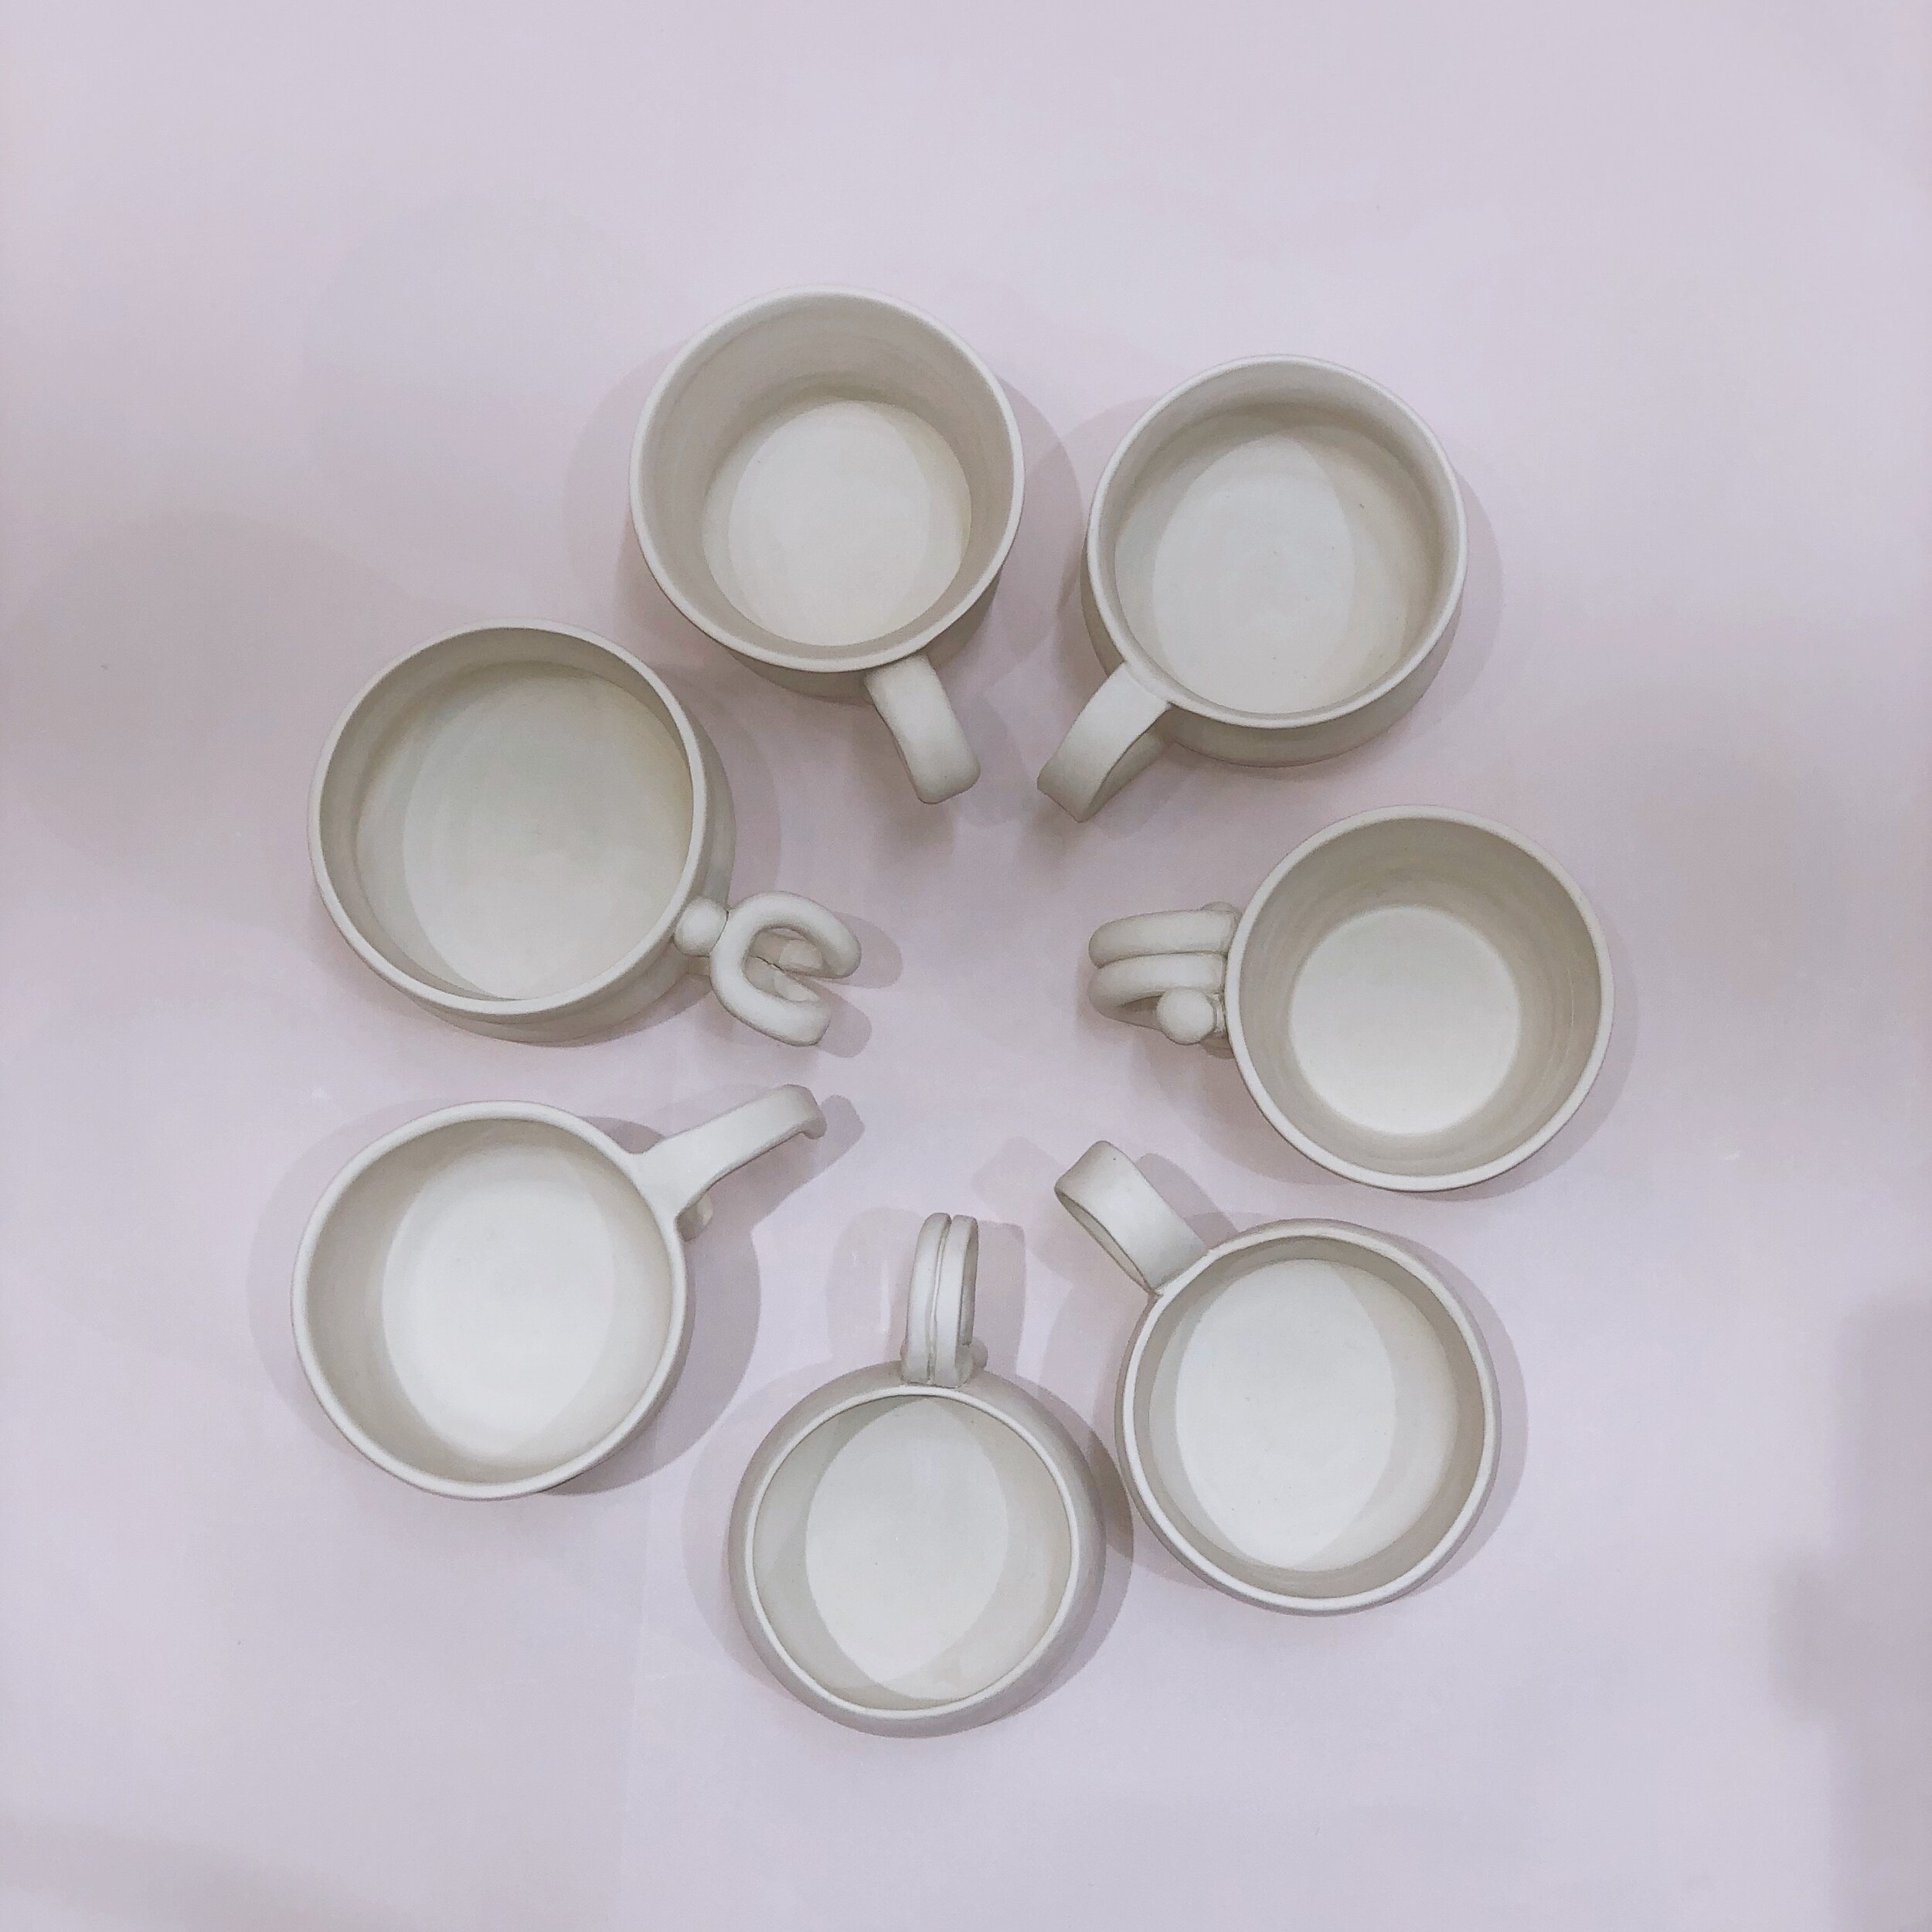
I set this new challenge for myself to experiment with new forms, ideas, designs, and just making mugs. During this project, I worked on a different shape mug each day. I am striving to become better at making mugs with handles, finding my own aesthetic and shape. So I am pushing myself to work towards that goal by making #100mugs100ways (by the way, I created that hashtag).
Each mug has a number at the bottom. My goal was to share a photo a day during this progress, each mug was still in its greenware stage, has not been fired, and no glazes applied. I planned to add underglazes, underglaze transfers, and its final glaze later. I want to see the shapes and forms of each mug I create.⠀
And don't forget to sign up for my newsletter to stay informed.
The Making of #100Mugs100Ways